Amazon Connect Quota Visibility

Not being able to see what your applied quota settings were has been a huge sore spot with Connect. We’ve resorted to keeping track of quotas on a spreadsheet and having AWS support provide updated numbers every 6 months. However, this is not scalable and generally a pain. I was very please when the following announcement was made, which states:

You can now view applied quota values for resources within each of your Amazon Connect instances using AWS Service Quotas. …

I immediately went to one of our Connect instances and was very disappointed at first. Because, the way AWS decided to present the applied quota as it’s not obvious. If you go to the Service Quotas > AWS Services> Amazon Connect. You see all applicable quotas for Connect. In this case let’s focus on Quick Connects. Notice that the “Applied quota value” is still the default.

Amazon Connect Service Quotas

Amazon Connect Service Quotas

If you click on the actual quota. You will still see the default at the top, but at the bottom right you’ll see the true applied number.

Quick Connects Per Instance Service Quota

Quick Connects Per Instance Service Quota

I’m happy this is here, but I wish AWS would just go the extra mile and not require us to click on the actual quote to see the true number. I’ve not validated this via the CLI, but I am hopeful it’s more obvious there.

~david

Obtained the AWS Solution Architect Associate Certification

I wanted to capture my experience working towards attaining the AWS SAA certification in hopes that this helps others on the same journey. This information is up to date as of 12/06/2021.

BACKGROUND

I first started working on getting the SAA back in middle 2020. I am the type that I like to  book the exam and then start planning for it. So, I booked the exam for August 19, 2020. At the time I used Adrian Cantril’s course. Which, I’ll be honest is great, very detailed. However, for me I was not ready for that type of detail and it was hard for me to focus and make time for the videos. I started strong, but started falling behind and was never able to catch up. On my first attempt I failed.

AWS SAA Failed Report

AWS SAA Failed Report

GETTING OVER THE HUMP

In the summer of 2021, on my city’s Slack, a few of us started talking about wanting to renew or pass an AWS certification. I put together a quick Google Sheet for people to talk about what they were trying to achieve and why. From there we had an initial meeting in early July and then decided to meet every Monday. One Monday in person and the next virtually via Webex. We ended with 4 total participants. 3 of us going for the SAA and 1 for Security. This was great as it created a constant reminder that I needed to study and stay with the group. I highly recommend to join or start a study group. The extra motivation helped me stay on track.

RESOURCES

As a group we talked about what resources worked best and compared notes about what we’ve checked out and what we liked/disliked about them. At the end of the day we all focused on a single primary resource. I personally supplemented my studies with a few other just to get multiple perspectives. Here’s what I used and in the order I used them:

A Cloud Guru (primary resource)

Tutorials Dojo Study Guide eBook (I printed this out and had it bound and would keep next to my bed to review the parts I felt that I needed further review)

Tutorials Dojo SAA Practice Exams

r/AWSCertifications

I enjoyed ACG’s video course. The videos were short and full of information and while the labs were ok, the gold was found in the videos alone. The TD eBook was good too, but I would skip it if you want to save money. Finally, the week before the exam I would go through practice exam question and read in detail the description for the questions I failed. Additionally, I would then go to the AWS documentation and get a bit more in depth to hopefully gain some new knowledge. I kept an eye on Reddit to see what others who had taken the test had to say about the topics covered. This allowed me to focus my studies. Personally, I feel that the practice exams was what got me to pass the exam. Not only because I was very used to the question style, but I was able to get a good feel for spotting the gotchas in the answers.

My exam had a lot of EFS, auto scaling, application and network load balancing. Good luck!

~david

PS: From our group all 3 passed the SAA and in a few days the last member of our study group will take the security exam and I’m sure will pass.

Revisiting Initial Observations of Amazon Connect

Back in 2018 I made a series of posts detailing some of the good things and not so great things about Amazon Connect. Now that I’ve spent a few weeks getting reacquainted with the product I want to revisit one particular post (Initial Observations of Amazon Connect) and provide some update. While I love and am passionate about Cisco’s contact center offerings, I tried to check my bias as much as possible while working through this.

First, let’s cover some of the things I labeled as strange and provide an update:

  • Can’t change agent state while reserved or talking. Update: Has not changed.
  • If you use a desk phone, you can’t reject the call. Update: Has not changed.
  • Changes take about a minute or two to propagate and there’s no notification if your changes are live or not. Update: Has not changed.
  • If you create a new agent and then login as that agent using the same browser as before your admin session will be moved over to the new agent credentials. Painful when trying to test permissions on agents. Update: Has not changed. However, this is not an Amazon Connect issue as much as a browser caching and using multiple tabs issues.
  • You can’t re-route a connector by clicking on the start point, you must first delete the existing line and then create your new connector. Update: This has changed! You can re-route connectors by just clicking on the arrow.

Second, here are the things I said made no sense back in 2018 and their update:

  • Every step should have a Lambda invocation option. This would make the scripting a lot cleaner. Update: Has not changed.
  • If you reject a call and you’re the only agent you’re automatically set back to ready. Queue must be drained before last agent can change states out of available. Update: This has changed! You’re able to change to a non-routable state after you reject a call.
  • No default routing? I disabled the only queue and calls just dropped when I tried to route to that queue. You would think that the system would force some sort of default routing option just in case you make a mistake. Update: Has not changed. It is on the flow designer to account for queues being disabled.
  • Contact flow editor, no easy way to get back to all your contact flows. Update: Has not changed.
  • Agent auto accept takes about 12 seconds to trigger using soft-phone, this would impact agent stats and I really don’t see the point of having this feature if it’s going to take this long to connect an agent. Due to some limitation, I can’t re-rest.
  • When you save or publish a contact flow you get the same message “Contact flow saved successfully!” Different message for publish would be nice. Update: Has not changed. Seems to be such an easy change and would make the development of scripts so much easier.
  • No easy way to move the whole script. Work area should have infinite scroll to all sides. Update: I’ll give it a half change. While you still can’t select all blocks, you can zoom out and hold the control click and select the whole script or part of the script and move it. The fact that the script is still anchored to the top left corner still presents some challenges when you try to move things around.
  • You can’t select multiple nodes and move them, you must move one by one. Update: This has changed! Holding the control key allows you to select multiple nodes.
  • Flows don’t auto save drafts, if for some reason you don’t remember to save you’re SOL. Update: Has not changed.
  • How draft flows and published flows are handled is confusing. Not very user friendly. Update: Has not changed. While I’ve gotten more accustomed to it, it’s still could be a bit more intuitive.
  • Checking contact attributes doesn’t offer a NULL or NOT NULL condition check. Update: Has not changed.
  • When a connector goes behind a flow node, you can’t delete the connector. Update: I’ve not been able to reproduce this so I believe this has changed and the editor is better at automatically placing the lines.
  • No way to duplicate nodes. You must configure a new node from scratch every time. Update: This has changed! Holding the control key while you click a block allows you to copy it. This is probably the biggest change for me!

Amazon is pushing out tremendous new features and capabilities around Connect, but there are still some pretty glaring gaps which I believe could be easily solved. I will say the speed to develop and integrate feel unlimited, but once you get beyond the basics you need a good handle on code and AWS security and infrastructure to make your vision a reality.

~david

AWS CLI Success

AWS CLI with SSL and Multiple AWS Instances

I’m ramping up to start a new Amazon Connect project and similar to what I did in the past I wanted to capture as many useful tidbits as I run into in the hopes that they will both help me remember things and help others doing similar things. In this blog we’re going to talk about setting up the AWS CLI when you have multiple AWS instances and are using SSO.

First, let’s cover why you would want to configure the AWS CLI. Many of us who have been in the contact center world for a long time either do no programming or very little programming. The programming we do is generally around solving very specific repetitive tasks or something very niche. However, with the race to the cloud and providers such as Amazon Connect and Twilio you will have to do some programming in order to truly leverage your CC platform. The AWS CLI allows that. Even if you feel that you will never do any programming or are opposed to it, the CLI allows for much faster access to AWS services. Once you get familiar with it you’ll realize that using the CLI allows you to understand your AWS configuration much better. You don’t have to know every command, but you’ll start with a few favorites and take it from there.

I’m setting this up on both Windows  and macOS and will try to call out the differences were possible.

To start, make sure you install AWS CLI version 2. If you have version 1 uninstall it before installing version 2. If you don’t have the latest version make sure you update it.  The documentation linked above works great on both Windows and macOS. Once it’s installed you want to validate it’s working by running the command in bold:

dmacias@MBP ~ % aws –version
aws-cli/2.2.8 Python/3.8.8 Darwin/20.3.0 exe/x86_64 prompt/off

Next, let’s configure your access. Remember that in this case our AWS account is SSO enabled and we are dealing with multiple instances so we’re going to setup our CLI to provide access using SSO and to use named profiles to get to each instance. First we’re going through the automatic configuration then we’ll go through the manual configuration to validate that everything is configured correctly.

Automatic Configuration

There are a few things you need to taken in to account. Your SSO URL must end in /start and your region must support SSO. Remember that this region could be different than your default region where you’re spinning up your resources. Finally, choose a profile name that is easy to remember. I generally go with instance name and role type when there are multiple of either.

dmacias@MBP ~ % aws configure sso
SSO start URL [None]: https://mysso.awsapps.com/start
SSO Region [None]: us-east-2
Attempting to automatically open the SSO authorization page in your default browser.
If the browser does not open or you wish to use a different device to authorize this request, open the following URL:

https://device.sso.us-east-2.amazonaws.com/

Then enter the code:

DIVAD-YEAH
There are 2 AWS accounts available to you.
Using the account ID 3382948573928
The only role available to you is: AdministratorAccess
Using the role name “AdministratorAccess”
CLI default client Region [us-east-1]: us-west-2
CLI default output format [JSON]: json
CLI profile name [AdministratorAccess-3382948573928]: dev-profile

To use this profile, specify the profile name using –profile, as shown:

aws s3 ls –profile dev-profile

If SSO fails and you get an “Invalid_grant Invalid grant provided” error check your SSO region. You more than likely have the wrong one.
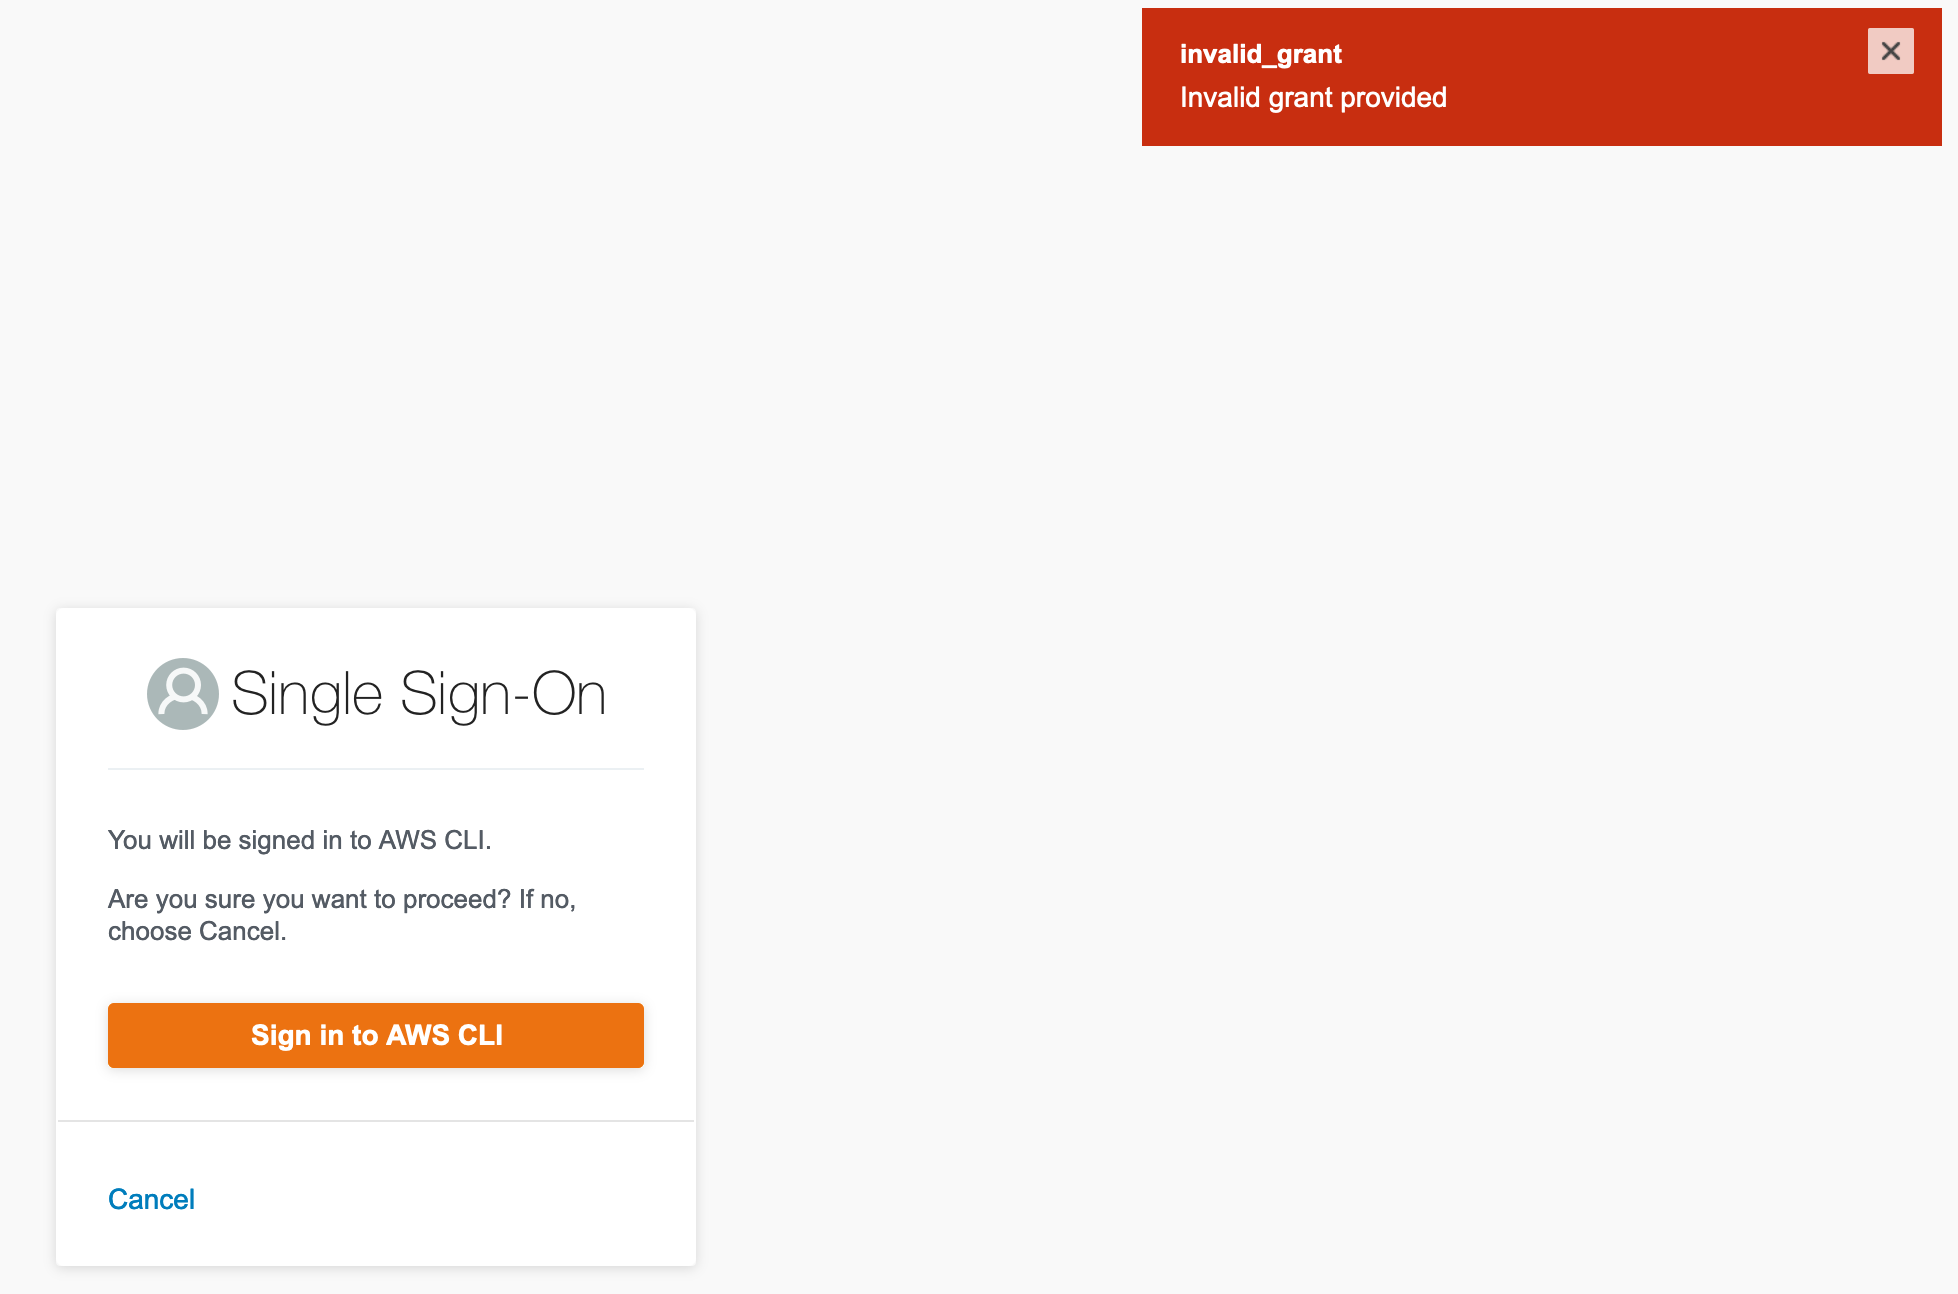
AWS CLI SSO Error

AWS CLI SSO Error

What you want to see to know everything is good is this.
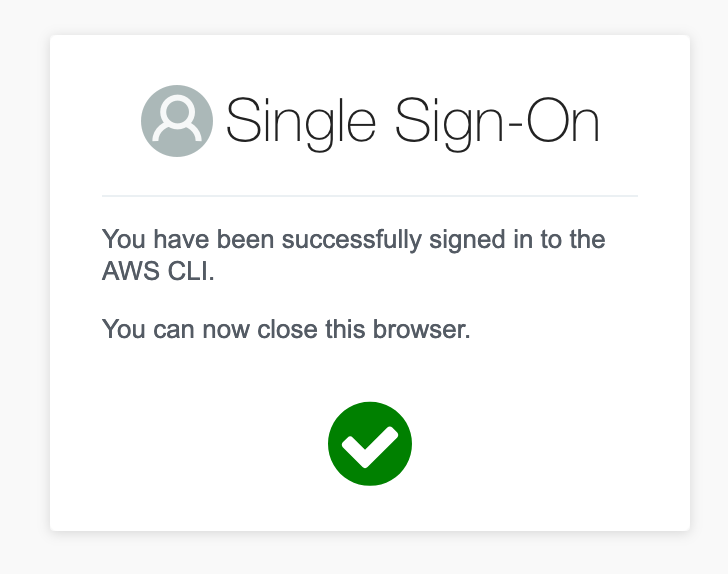
AWS CLI Success

AWS CLI Success

Manual Configuration

You can repeat the above steps for any other instances and roles you want to configure. To validate the configuration or make changes to what is already configured you can run the same command above or you can open the AWS CLI config file located in macOS ~/.aws/config or in Windows %UserProfile%/.aws/config. Below you’ll see two different profiles configured.

[profile dev-profile]
sso_start_url = https://mysso.awsapps.com/start
sso_region = us-east-2
sso_account_id = 3382948573928
sso_role_name = AdministratorAccess
region = us-west-2
output = json
[profile stage-profile]
sso_start_url = https://mysso.awsapps.com/start
sso_region = us-east-2
sso_account_id = 2834343234234234
sso_role_name = AdministratorAccess
region = us-east-2
output = json

Now to ensure your profiles work as expected run a command. In this case I want to see all the S3 buckets configured and that I have access to.

dmacias@MBP ~ % aws s3 ls –profile dev-profile
2021-05-01 01:23:42 amazon-connect-123a3dam9834

Finally, if you want to logout you can run

dmacias@MBP ~ % aws sso logout

Then to log back in or to change profiles you do this

dmacias@MBP ~ % aws sso login –profile dev-profile

~david

Continuous deployment to Amazon Lambda using Bitbucket Pipeline

I’m not a developer (more of a hack) so I’m always looking for way to figure out efficiencies in my process when playing around with code as I’m a very slow coder. One of those efficiencies found is around deploying my code to Amazon Lambda.

First, let’s talk about your options when deploying code to Lambda. The easiest way is to just do your development using Amazon’s IDE. The benefit here is that you can manually run some tests to validate what you’re writing, however if you’re using any dependencies the IDE has a size restriction and at some point it’s no longer available to you.

image

The next method is doing local development and creating a zip file of all your code and dependencies. Then manually upload your code. You can then run the same manual tests as before on your code, but the process of zipping and uploading the file is tedious specially when working on large code bases.

image

Next process involves the very good Amazon CLI. Using the CLI you’ll be able to save the manual process of uploading the zip file. Below you’ll find the Windows scripts I use one for small code bases (without dependencies) and one for larger ones.


echo on

del index.zip

echo Deleted index.zip

"c:\Program Files\7-Zip\7z.exe" a index.zip index.js

aws lambda update-function-code --function-name mySmallLambdaFunction --zip-file fileb://index.zip

echo done

[/sourcode]</blockquote>
<blockquote>

echo on

del myZip.zip

echo Deleted myZip.zip

"c:\Program Files\7-Zip\7z.exe" a myZip.zip index.js node_modules

echo Zipped myZip.zip

aws lambda update-function-code --function-name myLargeLambdaFunction --zip-file fileb://myZip.zip

echo done

Finally, the process I’ve come to enjoy the most is deploying from git. The main reason being that it forces you have a bit of a process around using git which is pretty much the standard when collaborating with multiple developers. So if you’re dragging your feet around using git take the plunge it’s worth the learning. My favorite, mainly because they have a very generous free offering is Bitbucket. Besides having private repositories they also give you 50 free build minutes which is where our deployment to Lambda from Bitbucket comes in. To get started you first need to setup a few environmental variables. Go to your repository > settings > environment variables. You’ll need these named exactly this way.

image

The next step can be done in two ways. You can commit a bitbucket-pipelines.yml file to your repository or you can go to your repository > pipelines to have Bitbucket commit one for you. What the original yml file looks like doesn’t matter we’re going to change it specifically for Lambda deployment. Here’s what my file looks like with inline comments.


#I like to use the same version of Node as the Lambda function I’m using.

image: node:6.10

pipelines:

default:

- step:

script: # Modify the commands below to build your repository.

- apt-get update

- apt-get install -y zip

- python –version #From here to there is all to enable the AWS CLI installation

- apt-get install -y python-dev

- apt-get install -y python-pip

- pip install awscli #there

- zip index.zip index.js #this is for a Lambda with a small code base. For something large you can use “zip myZip.zip index.js privatekey.json -r node_modules” notice the –r parameter to zip up folders.

- aws lambda update-function-code --function-name botValidationScheduleMeeting --zip-file fileb://index.zip

Assuming you’ve done everything right you should see something like this under Pipelines.

imageThe last 3 commits were successfully built (sent to Lambda). You can click on the commit and see detailed information on the results of every command in your yml file. You’re done, you’ve developed some code locally, committed to git, and pushed it to Lambda all with a few clicks.

~david

Right way to block ANIs using Amazon Connect

In this blog I’ll cover a potential financial issue you might face if you try to ANI block customers and they are calling you through a SIP trunk.

As I continue my journey of getting familiar with Amazon Connect I ran into an interesting and a bit worrisome issue. The use case I was working on was to create a table which blocks or allows specific ANIs to call in. Ultimately, when a blocked caller came in I wanted to just hang up on the call. My original flow looked like this:

image

Pretty straight forward, invoke Lambda, check attribute and if blocked = true, disconnect the call. When calling from my cellphone this worked great. However, when calling from my home phone (using a Flowroute SIP trunk) I got a nice surprise in the logs:

image

What you’re seeing is a partial log of my home phone constantly retrying to connect to Amazon Connect and generating a new call each time. Since there was no prompt play and no ring back heard I assume the network believes there as a connection issue and continues to try and connect. Which means that you could easily incur a huge expense both on your phone provider and on your Amazon AWS bill.

The way to fix this was to play a 1 second of silence prompt before disconnecting the call.

image

~david

Amazon Connect and Sticky Queue

In this blog I’ll discuss how to achieve a sticky queue using Amazon Connect.

When a customer calls back within a short amount of time, it’s fairly safe to assume they are calling back for the same reason as before. This is often referred as sticky agent or sticky queue. Because you’re trying to “stick” a queue or agent to a specific customer. As a best practice avoid using anything sticky as it could force your customer down the wrong path or create long hold times when too many callers are stuck to a single agent or queue, but for my use case it’s safe to use because I want to use it. :)

I assume you already have a Lambda function or two working with your flow, if you don’t then you might want to skip this functionality until you get that working. The first thing you need to do is find the ARN for your queues. I’m going to be honest, this is not intuitive at all and I wish the Connect team would allow you to retrieve this information via the flow without having to do the following steps.

To get your Queue ARN go to your queues via https://<your instance>.awsapps.com/connect/queues, select a single queue, and notice the bold section of the url https://<your instance>.awsapps.com/connect/queues/edit?id=arn:aws:connect:us-east-1:64:instance/4d92ab25-8XXX-4bXX-aXXX-XXXXXXX/queue/XXXXXX-2022-XXXX-a275-xxXXXXxxxXXX That’s your queue’s ARN.

– Set an attribute (e.g. Queue) with your ARN.
– Set your queue name to the attribute you just set.

image

– Save your attribute to your DB.

Next time your customer calls, you can retrieve the last queue they went through and give them the option to go to that queue again, hopefully saving your customer some frustration.

image

~david