I’m ramping up to start a new Amazon Connect project and similar to what I did in the past I wanted to capture as many useful tidbits as I run into in the hopes that they will both help me remember things and help others doing similar things. In this blog we’re going to talk about setting up the AWS CLI when you have multiple AWS instances and are using SSO.
First, let’s cover why you would want to configure the AWS CLI. Many of us who have been in the contact center world for a long time either do no programming or very little programming. The programming we do is generally around solving very specific repetitive tasks or something very niche. However, with the race to the cloud and providers such as Amazon Connect and Twilio you will have to do some programming in order to truly leverage your CC platform. The AWS CLI allows that. Even if you feel that you will never do any programming or are opposed to it, the CLI allows for much faster access to AWS services. Once you get familiar with it you’ll realize that using the CLI allows you to understand your AWS configuration much better. You don’t have to know every command, but you’ll start with a few favorites and take it from there.
I’m setting this up on both Windows and macOS and will try to call out the differences were possible.
To start, make sure you install AWS CLI version 2. If you have version 1 uninstall it before installing version 2. If you don’t have the latest version make sure you update it. The documentation linked above works great on both Windows and macOS. Once it’s installed you want to validate it’s working by running the command in bold:
dmacias@MBP ~ % aws –version
aws-cli/2.2.8 Python/3.8.8 Darwin/20.3.0 exe/x86_64 prompt/off
Next, let’s configure your access. Remember that in this case our AWS account is SSO enabled and we are dealing with multiple instances so we’re going to setup our CLI to provide access using SSO and to use named profiles to get to each instance. First we’re going through the automatic configuration then we’ll go through the manual configuration to validate that everything is configured correctly.
Automatic Configuration
There are a few things you need to taken in to account. Your SSO URL must end in /start and your region must support SSO. Remember that this region could be different than your default region where you’re spinning up your resources. Finally, choose a profile name that is easy to remember. I generally go with instance name and role type when there are multiple of either.
dmacias@MBP ~ % aws configure sso
SSO start URL [None]: https://mysso.awsapps.com/start
SSO Region [None]: us-east-2
Attempting to automatically open the SSO authorization page in your default browser.
If the browser does not open or you wish to use a different device to authorize this request, open the following URL:https://device.sso.us-east-2.amazonaws.com/
Then enter the code:
DIVAD-YEAH
There are 2 AWS accounts available to you.
Using the account ID 3382948573928
The only role available to you is: AdministratorAccess
Using the role name “AdministratorAccess”
CLI default client Region [us-east-1]: us-west-2
CLI default output format [JSON]: json
CLI profile name [AdministratorAccess-3382948573928]: dev-profileTo use this profile, specify the profile name using –profile, as shown:
aws s3 ls –profile dev-profile
If SSO fails and you get an “Invalid_grant Invalid grant provided” error check your SSO region. You more than likely have the wrong one.

AWS CLI SSO Error
What you want to see to know everything is good is this.
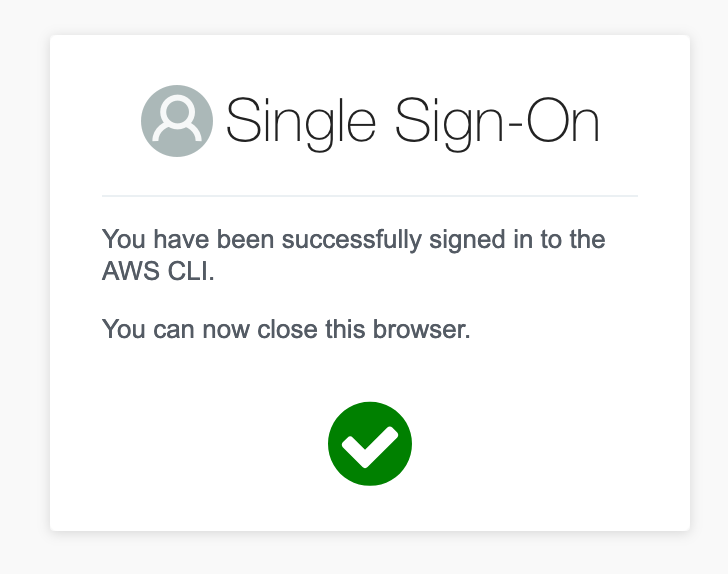
AWS CLI Success
Manual Configuration
You can repeat the above steps for any other instances and roles you want to configure. To validate the configuration or make changes to what is already configured you can run the same command above or you can open the AWS CLI config file located in macOS ~/.aws/config or in Windows %UserProfile%/.aws/config. Below you’ll see two different profiles configured.
[profile dev-profile]
sso_start_url = https://mysso.awsapps.com/start
sso_region = us-east-2
sso_account_id = 3382948573928
sso_role_name = AdministratorAccess
region = us-west-2
output = json
[profile stage-profile]
sso_start_url = https://mysso.awsapps.com/start
sso_region = us-east-2
sso_account_id = 2834343234234234
sso_role_name = AdministratorAccess
region = us-east-2
output = json
Now to ensure your profiles work as expected run a command. In this case I want to see all the S3 buckets configured and that I have access to.
dmacias@MBP ~ % aws s3 ls –profile dev-profile
2021-05-01 01:23:42 amazon-connect-123a3dam9834
Finally, if you want to logout you can run
dmacias@MBP ~ % aws sso logout
Then to log back in or to change profiles you do this
dmacias@MBP ~ % aws sso login –profile dev-profile
~david
You must be logged in to post a comment.