This is an update to an earlier post covering the same thing now with updated code.
As we are working our way out of Cisco UCCE to Amazon Connect we find ourselves needing to transcribe thousands of prompts. I wanted to revisit this piece of code to ensure it is still working. If you want to use this and are starting from scratch here are the steps you need to take:
– Install Studio Code
– Install Python 3.9
– Create the folder where you will keep your project.
– Create a virtual environment.
– Activate your virtual environment.
– pip install python-dotenv, boto3, pandas
– *Remove the profile_name or update it.
– Update the .env file with the region you’ll be using.
You can find the full source code here.
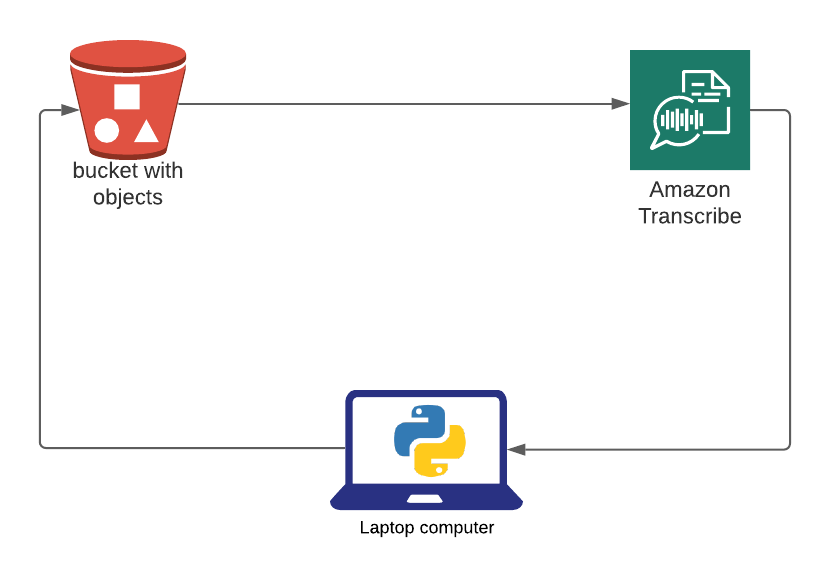
The script works like this: It creates an S3 bucket, grabs the first file, checks if the file is in S3 and uploads it, creates a transcription job, waits for the transcription to complete, grabs the results, writes a CSV. I’ve tried to catch as many potential errors as possible, but I’m sure there are some lingering. Expect the transcription to take around 1 minute per file. Assuming normal IVR prompts.
 * I have many AWS profiles, which might not the be case for others. If you only have a single profile change this line session = boto3.session.Session(profile_name=’MyProfile’) to session = boto3.session.Session()
I hope this helps others.
~david
[…] been on a text-to-speech and speech-to-text kick lately. My last post talked about using AWS S3 and Amazon Transcribe to convert your audio files to text and in previous […]