The Nuance Speech Suite has been around for a couple of years, but it’s not until recently that I’ve started to really use it. Before I had always installed the individual components independently because that’s how I’ve always done it. However, I decided to finally buckle down and get the installation process for this down and wanted to create a tutorial post for it. Please note that while you can install the Extended version which includes MySQL as part of the installer. I wanted to install the Standard version which forces you to install the database individually. Additionally, this is strictly a lab install. For production and specially for a hosted environments there’s a lot more “engineering” that has to happen to get this right and to avoid killing your server.
What you’ll need:
- Windows 2012 R2 x64
- The latest version of JDK 1.8 (as of this post jdk-8u241-windows-i586.exe)
- The latest Apache Tomcat package (as of this post apache-tomcat-8.5.51-windows-x86.zip)
- The latest version of MySQL 5.7 Community or Enterprise (as of this post mysql-installer-community-5.7.29.0.msi)
Validate that 8.3 File naming is enabled:
- Open command prompt
- Type: cd c:\ <enter>
- Type: dir /x (/x will display the long and the 8.3 name)
- The important part is that you see something like “Progra~1″:
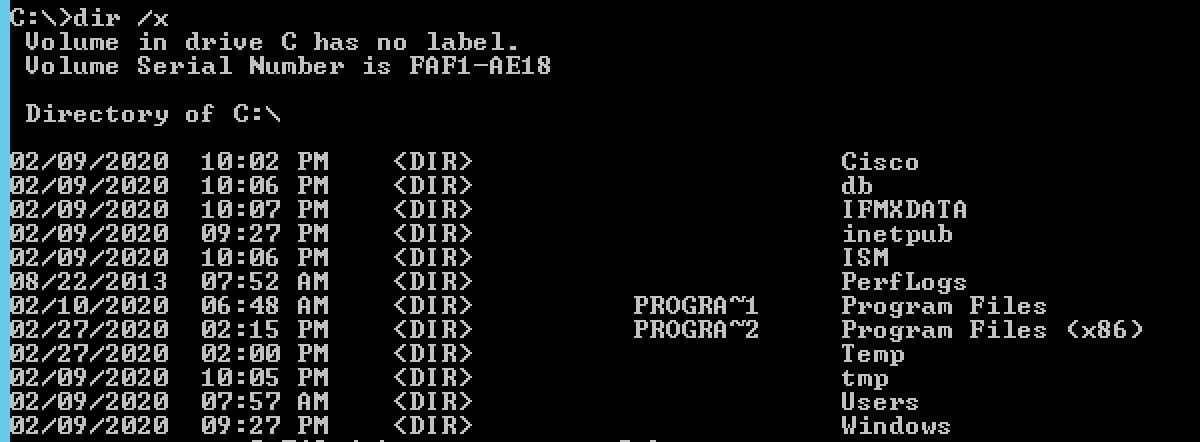
Command prompt 8.3 file naming validation
5. If you don’t see the above Google how to enable 8.3 file naming in Windows.
Install the JDK:
- I choose all the installer defaults.
- Validate the installation by doing java -version from the command prompt.
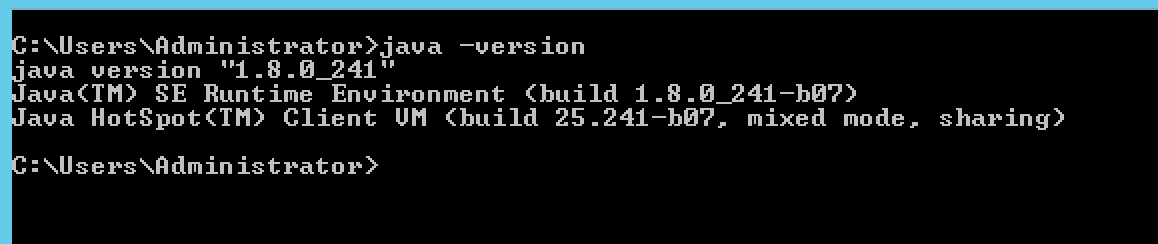
Windows command prompt to validate JDK installation version
Install Tomcat and validate it:
- Remember to not use the Tomcat installer, but the package which comes in a zip file. Extract this to your machine. I placed mine in C:\apache-tomcat-8.5.51
- Run C:\apache-tomcat-8.5.51\bin\startup.bat and ensure you can get to http://localhost:8080
Install MySQL:
- Choose custom installation.
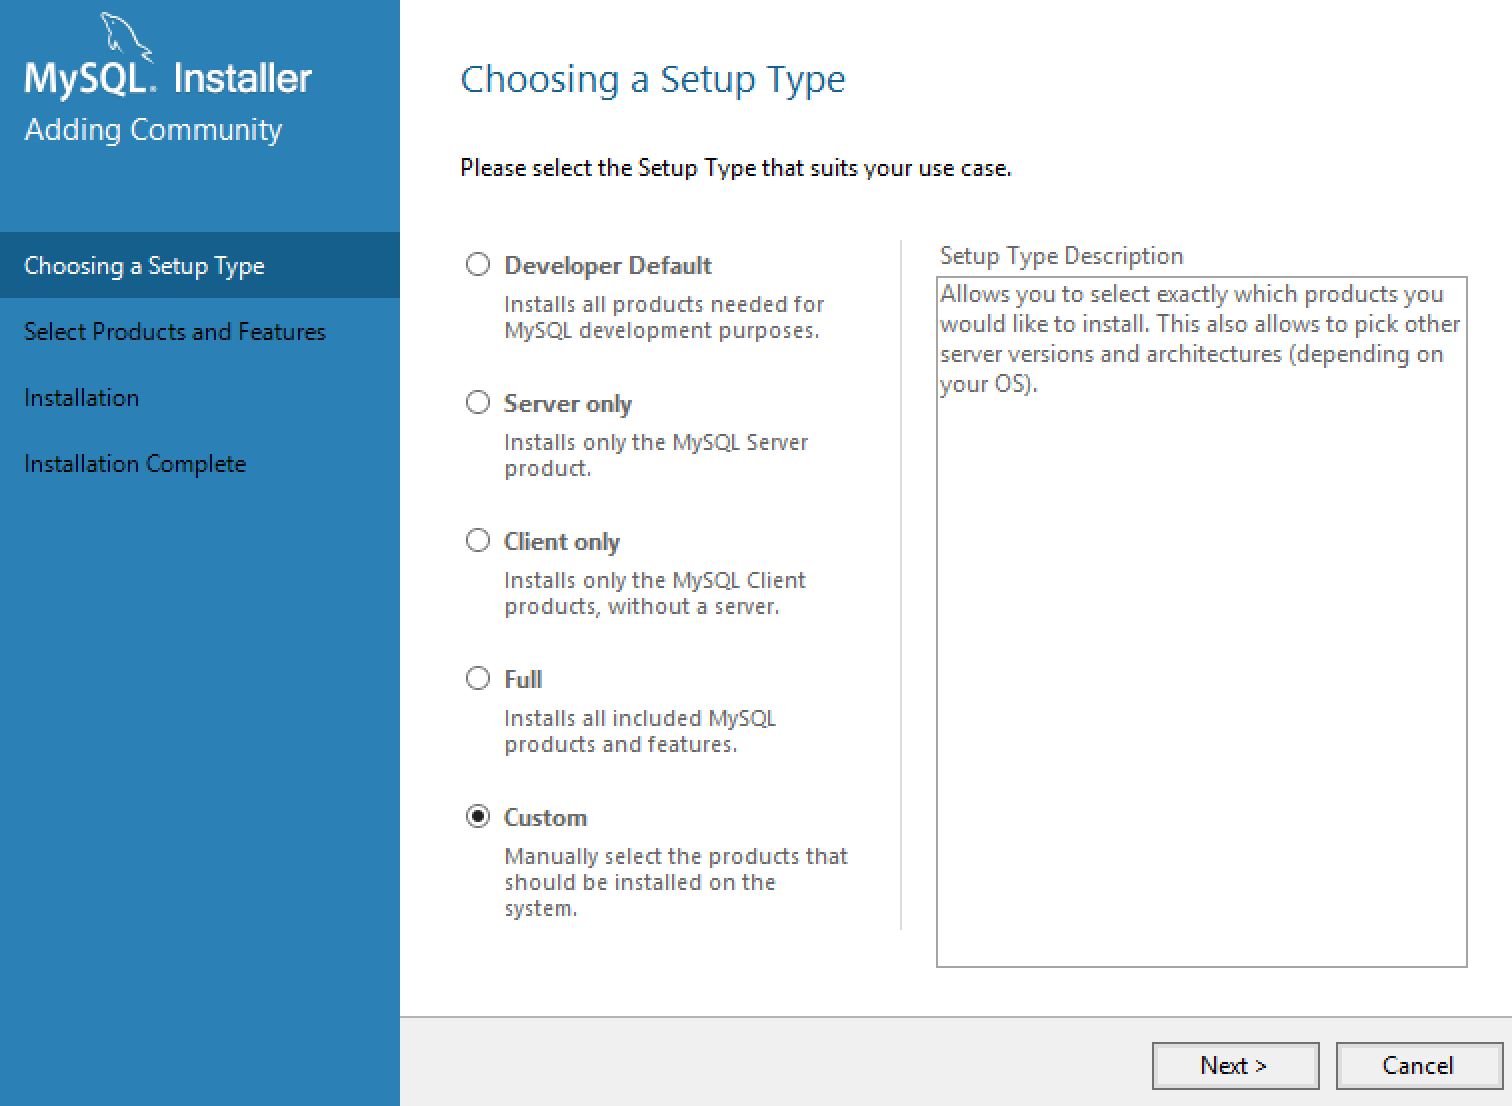
MySQL Installer
2. Choose the following features. There is an issue in the below screen shot. Additionally, Python is not required, that’s just because I use Python to parse Nuance logs. Maybe a blog post to come on this. You will have to use the Filter in the installer to find some of the specific versions you need.
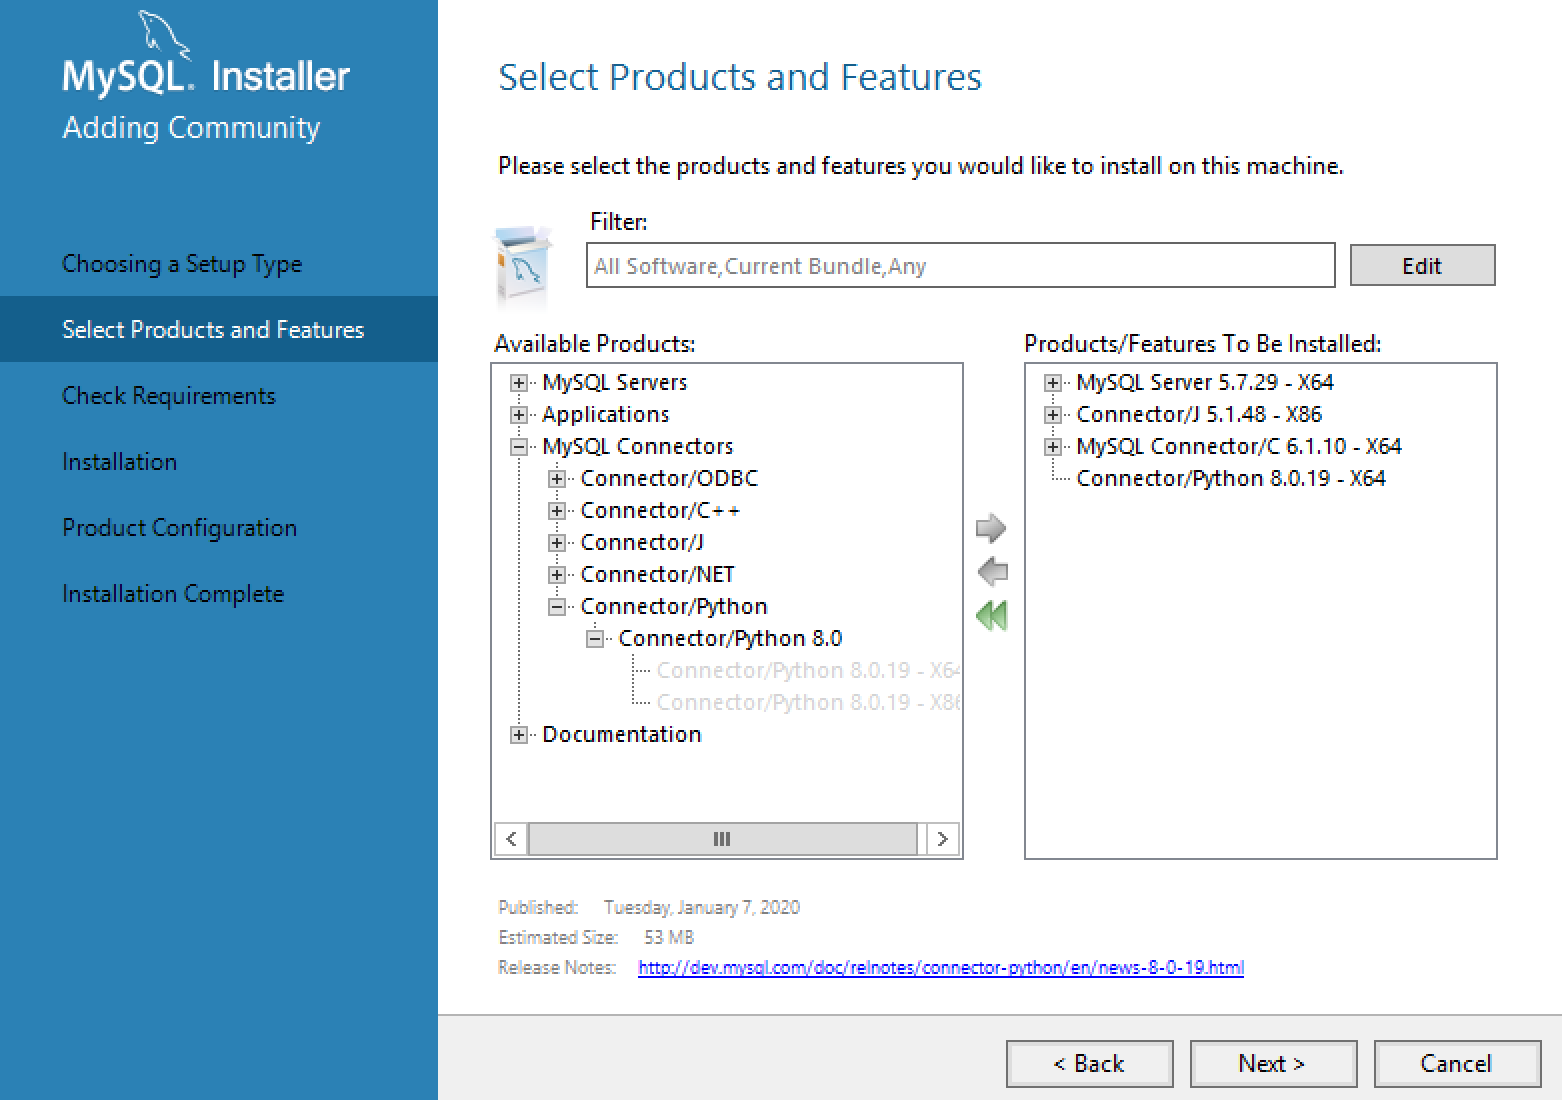
MySQL Installer Features
3. The installer might complain about some missing dependencies, but it should automatically resolve them. If that fails, you’ll have to resolve them manually. When everything looks good you should see this.
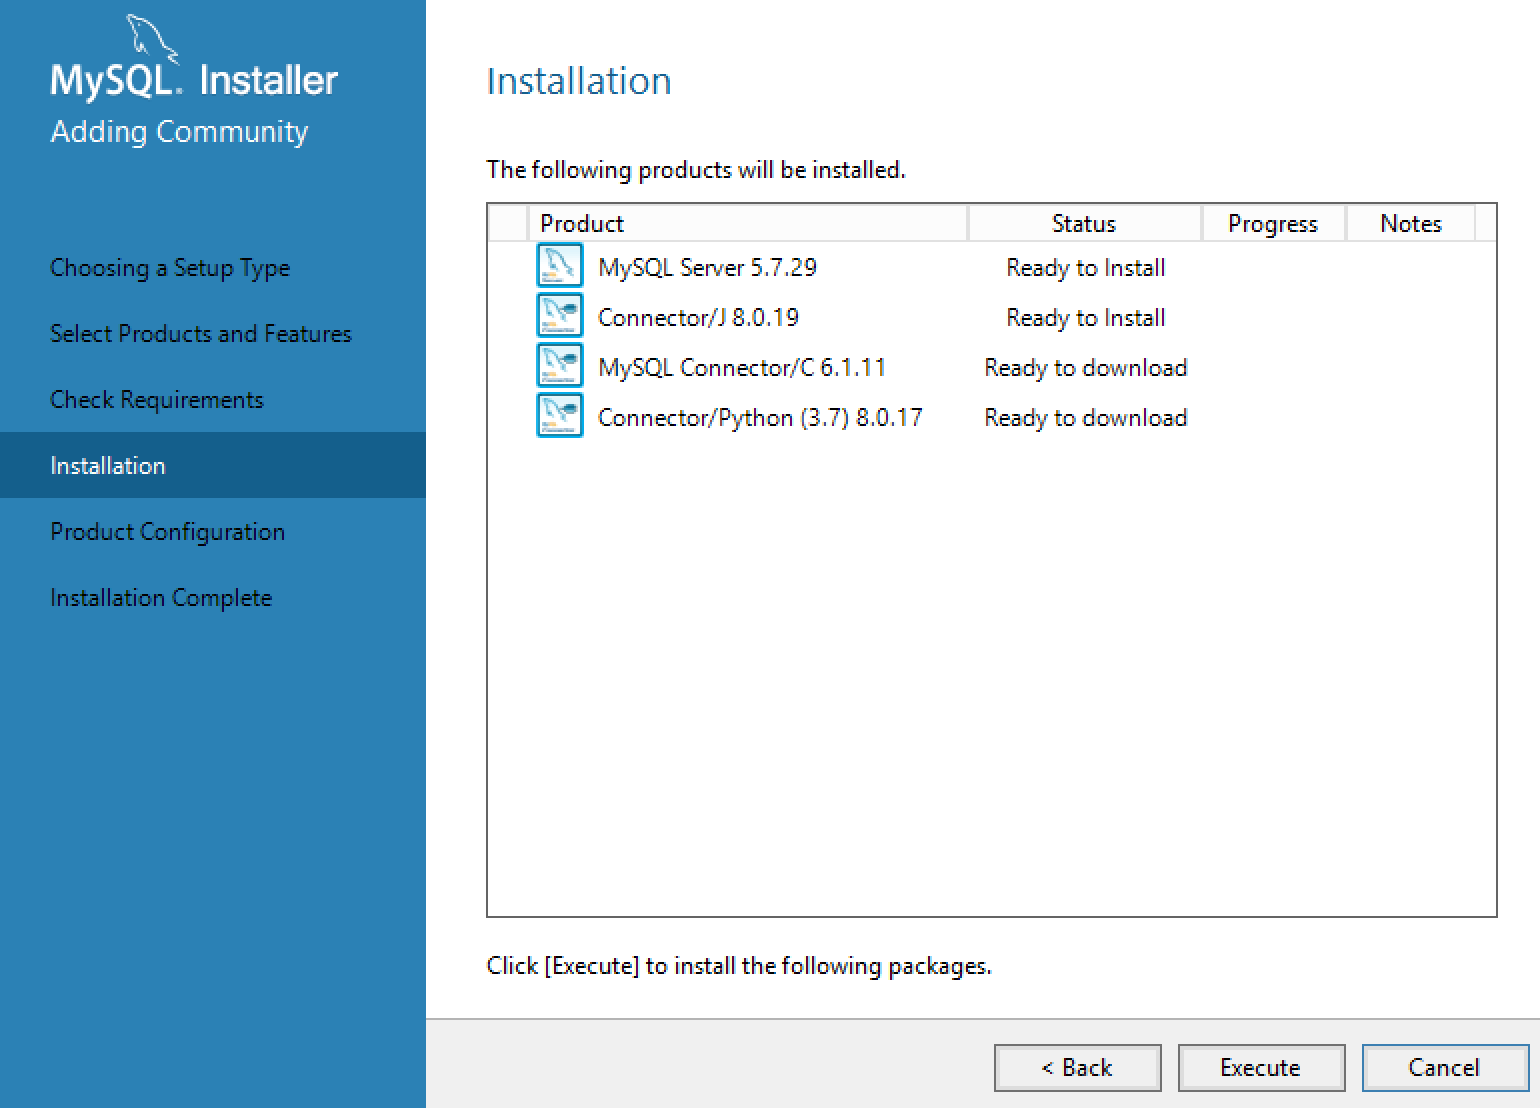
MySQL Installer Ready
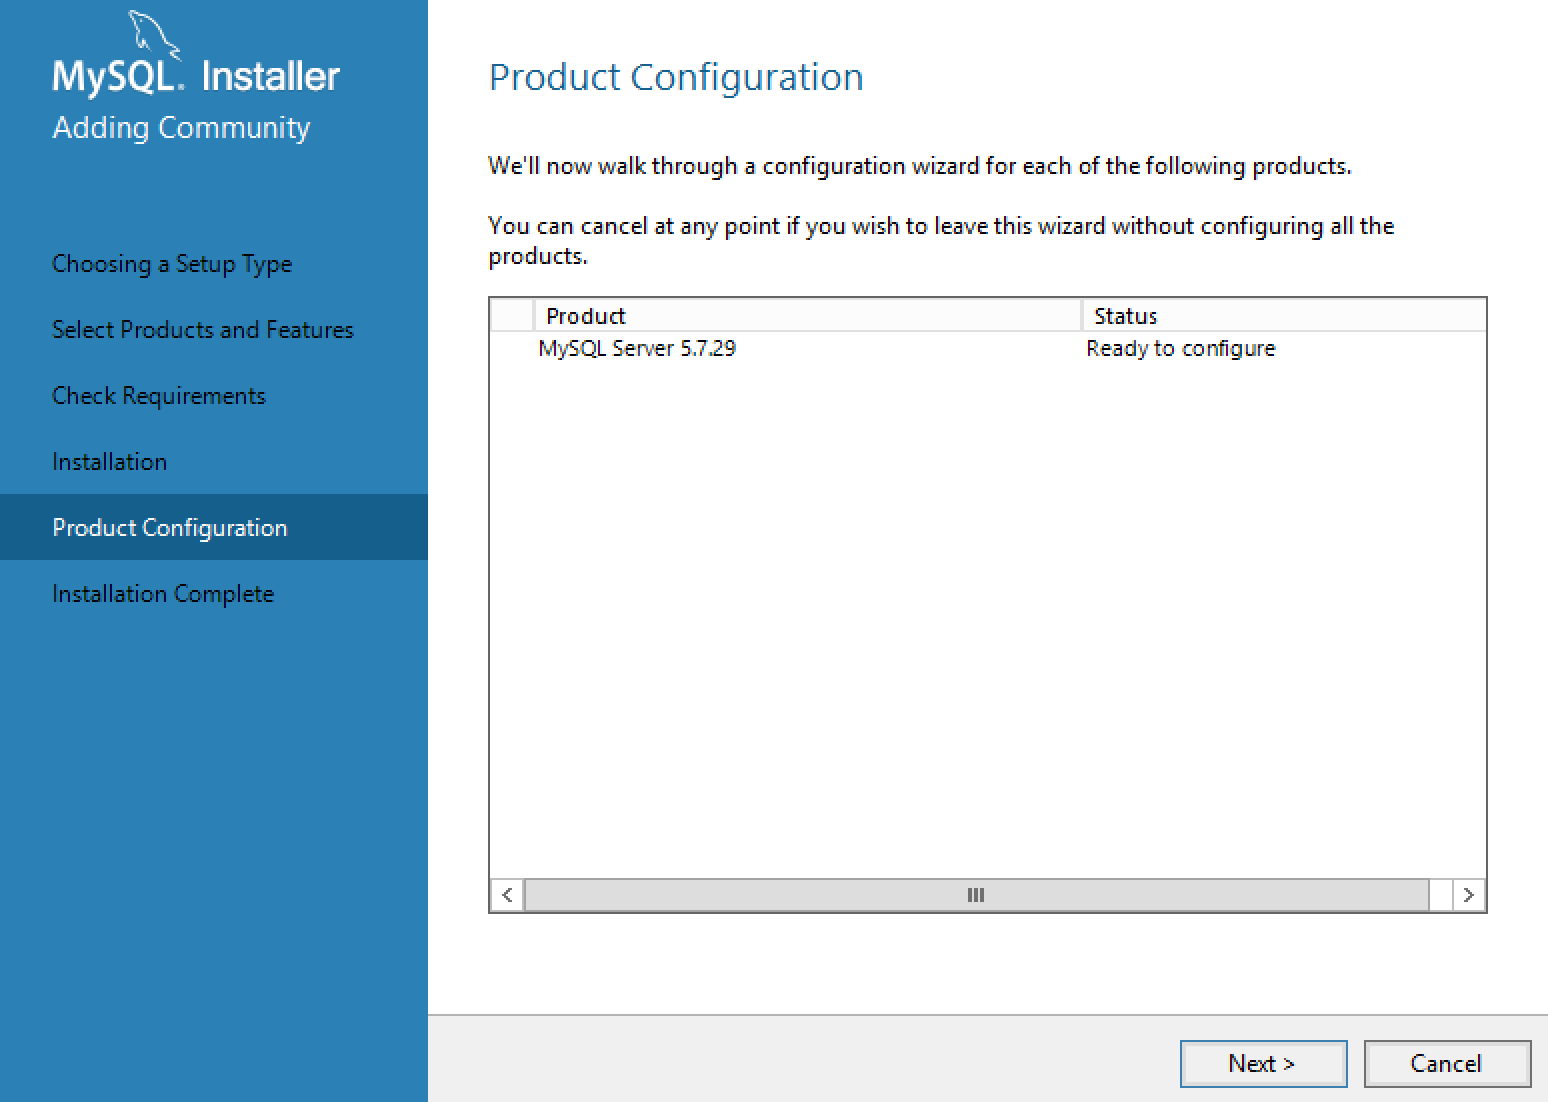
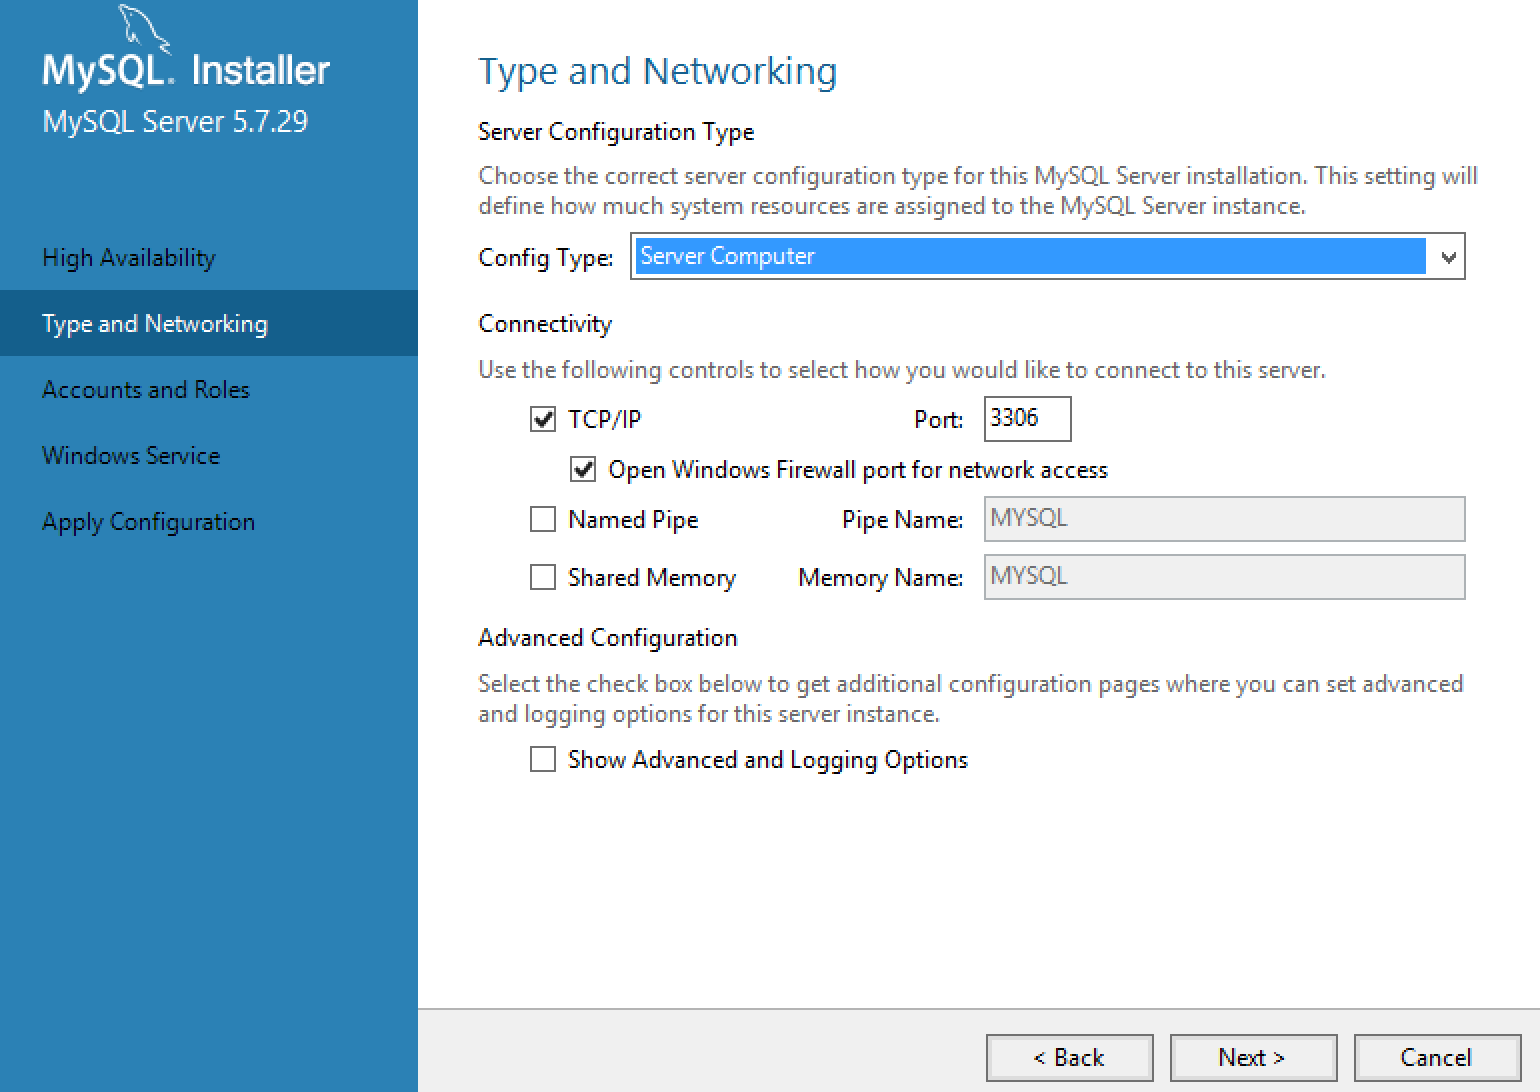
MySQL Installer Configuration
4. Along with installed MySQL in the default location I also install the connectors in the default location (e.g. C:\Program Files (x86)\MySQL\Connector J 8.0\) make note of this path as you’ll need it later.
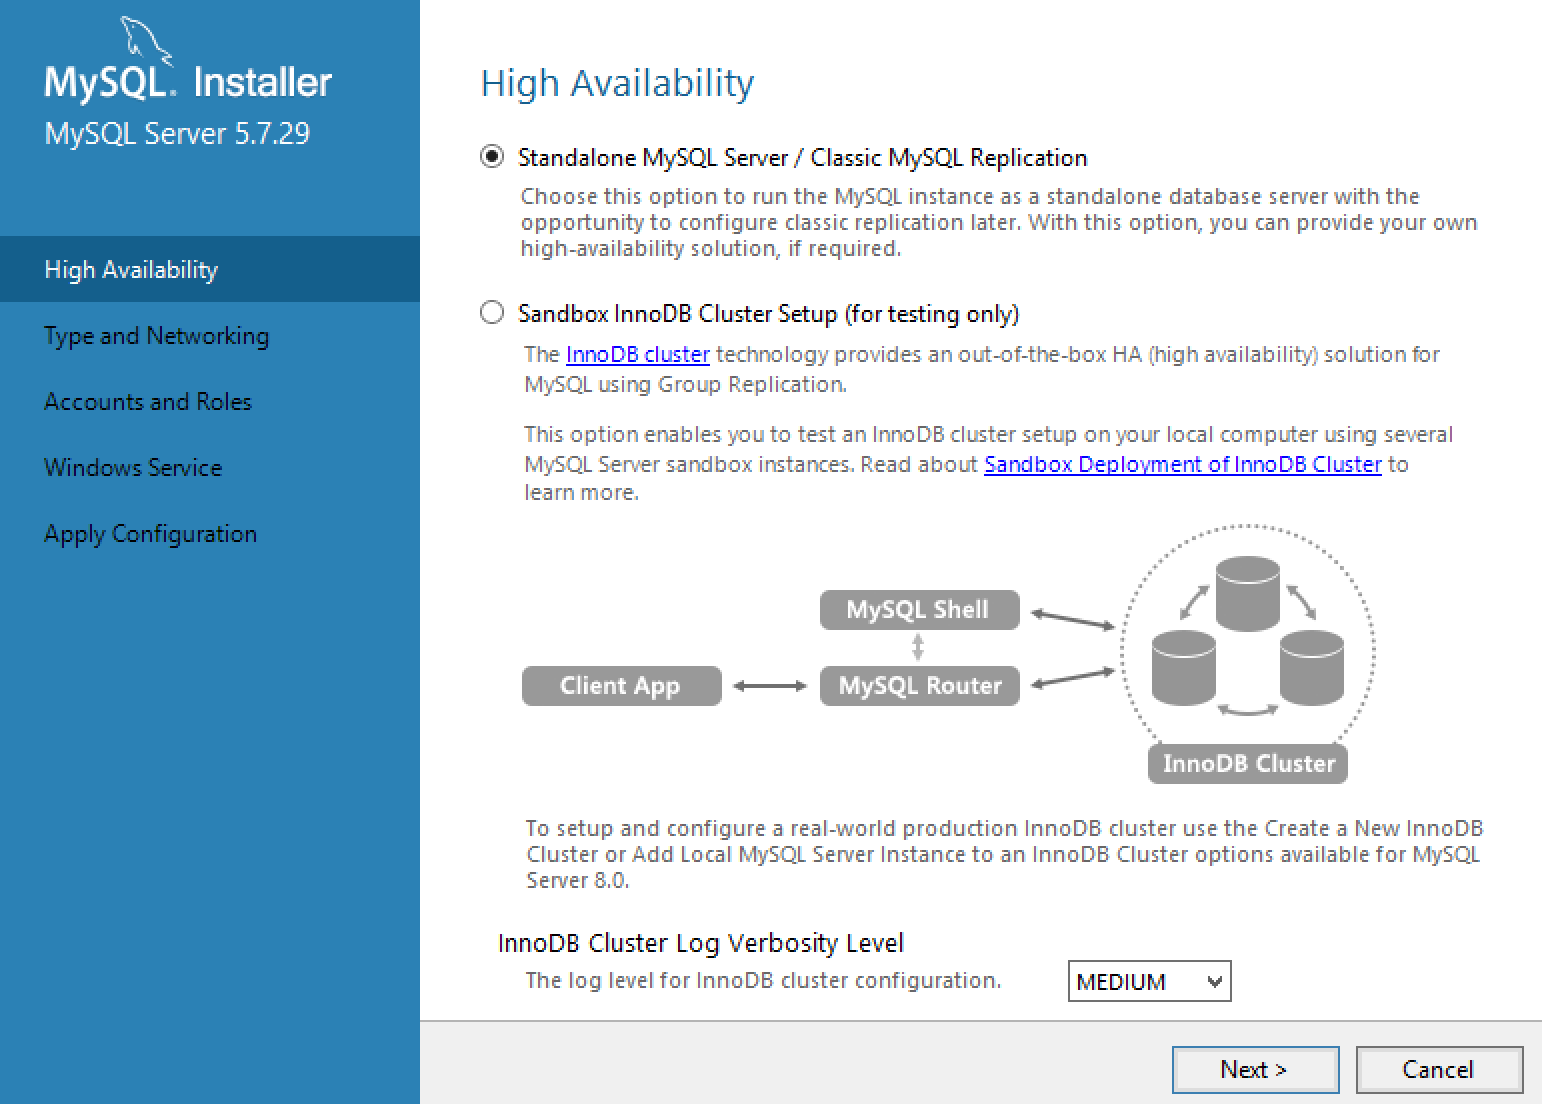
MySQL Installer Cluster Configuration
MySQL Installer Cluster Configuration
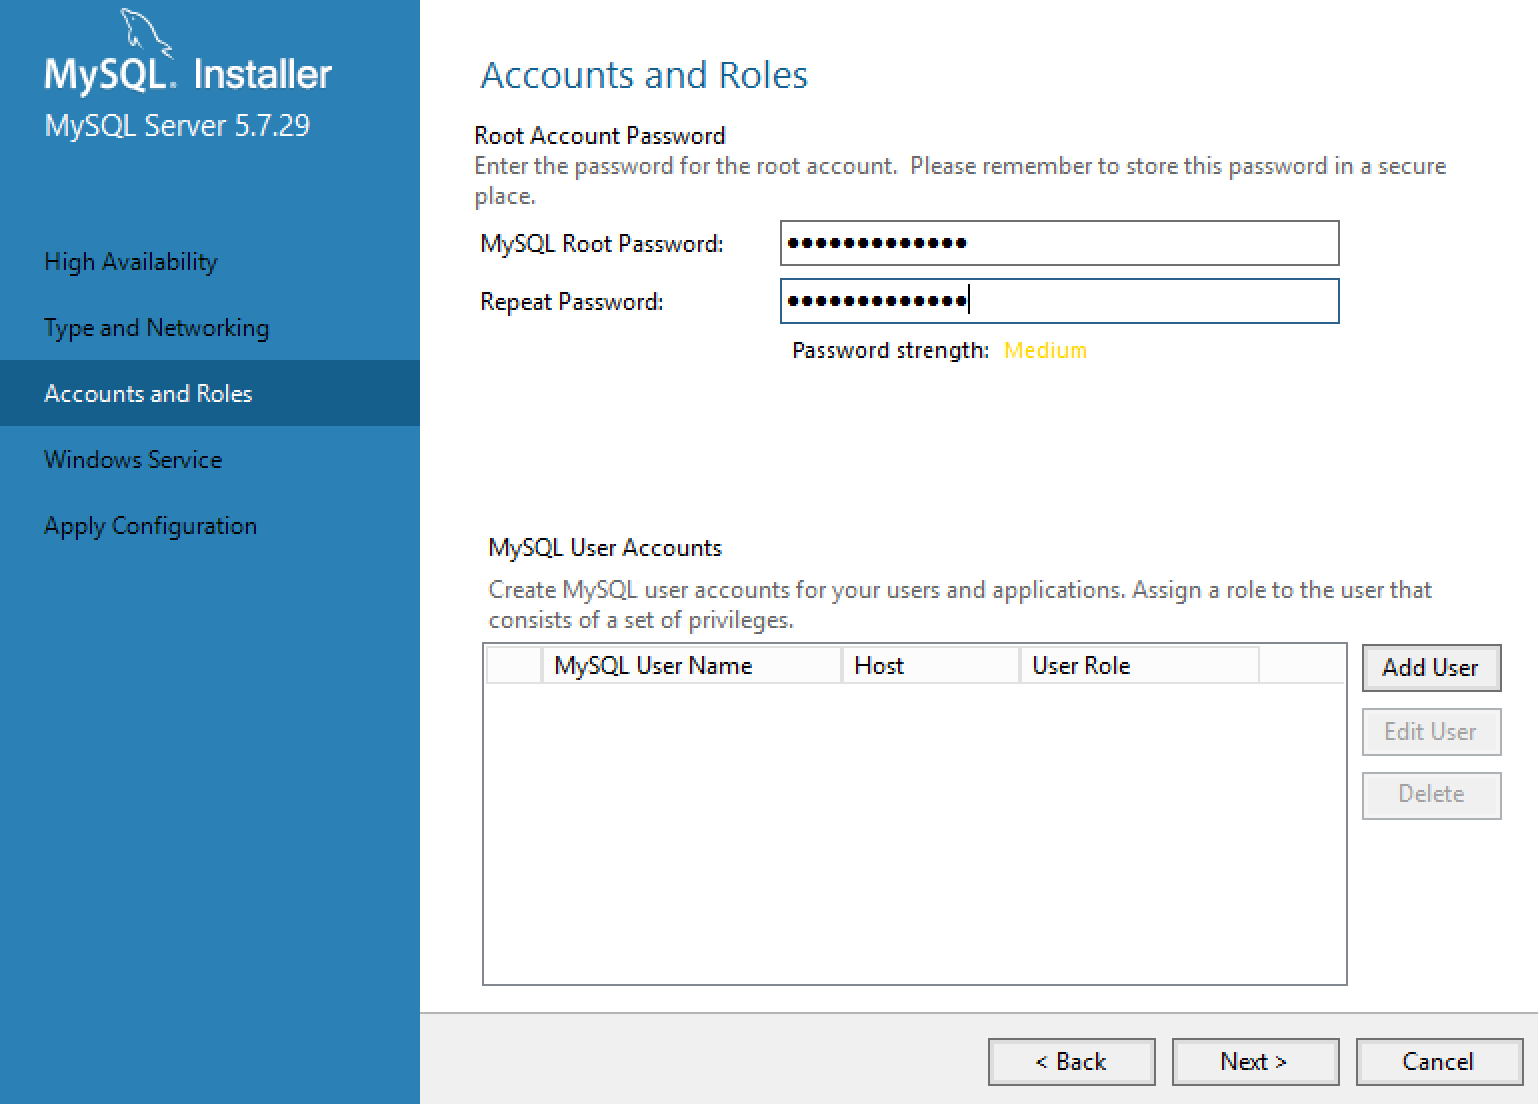
MySQL Installer User Configuration
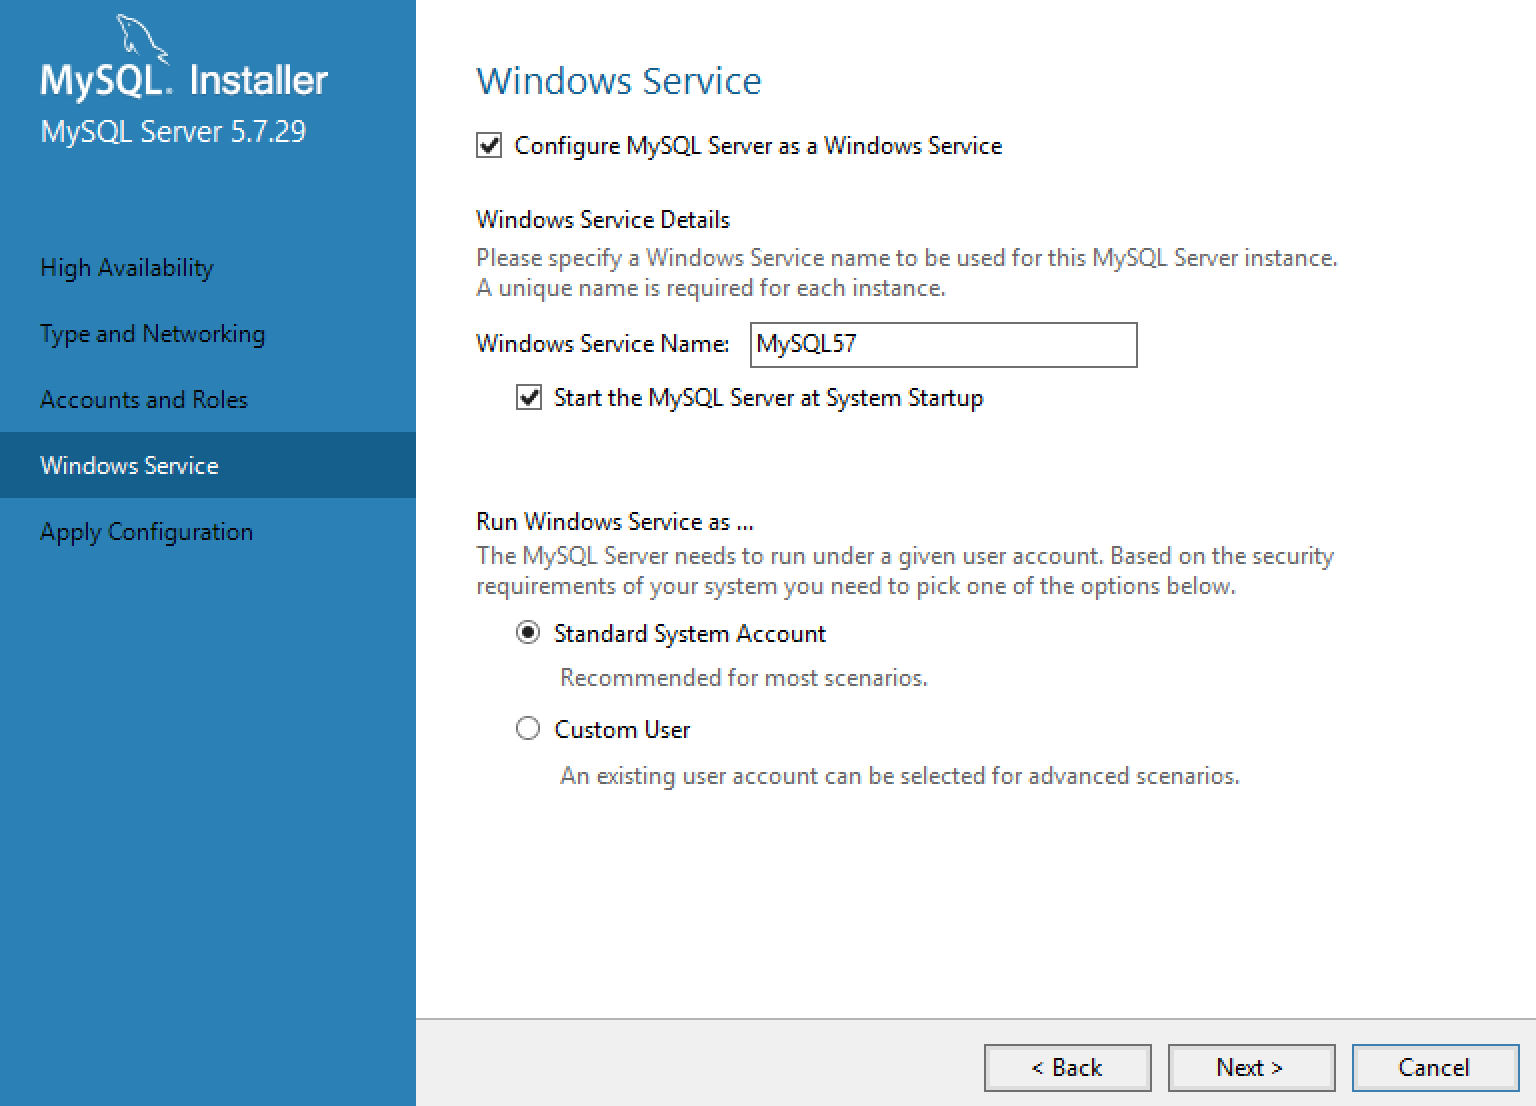
MySQL Installer Service Configuration
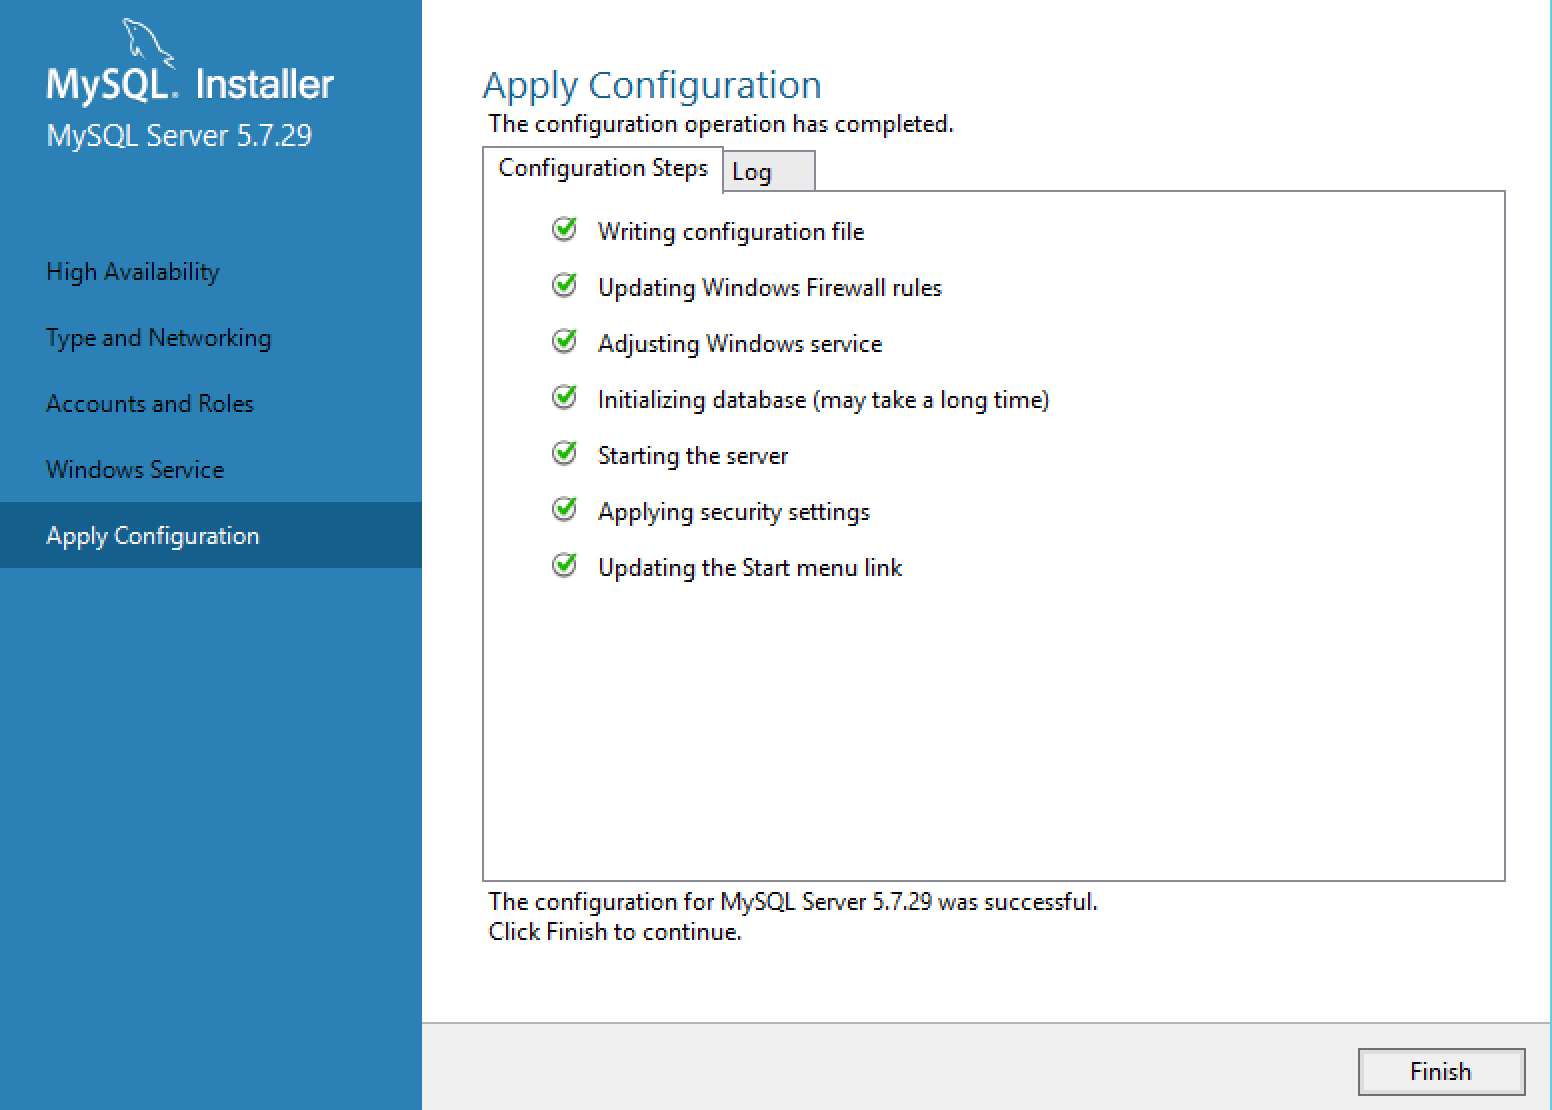
MySQL Installer Confirmation
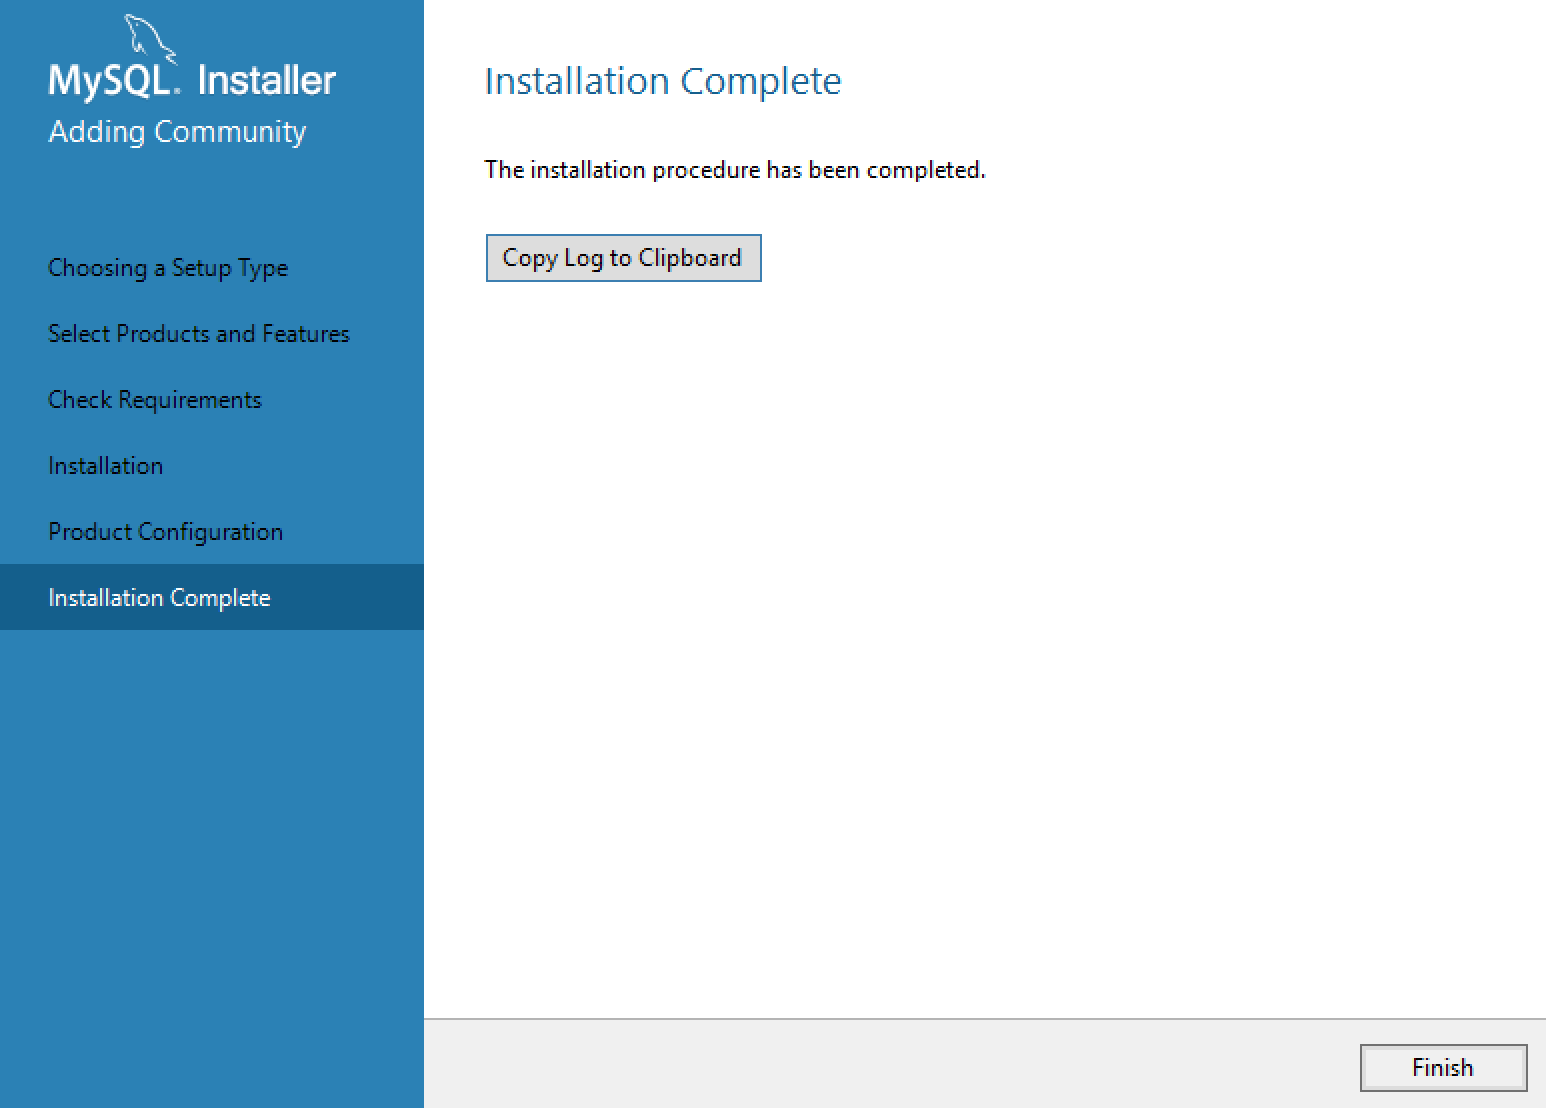
MySQL Installer Finished
Verify MySQL installation:
- Service is running and set to automatic.
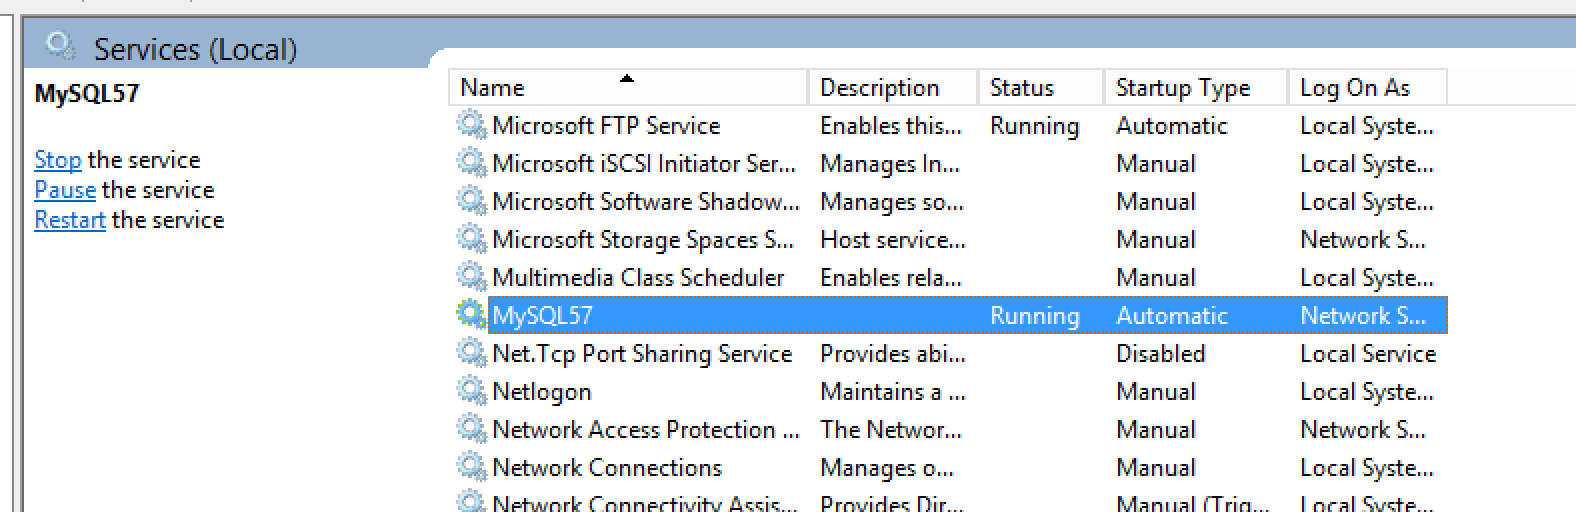
Confirm MySQL Windows Service
2. Start > Command Line, enter the root password.
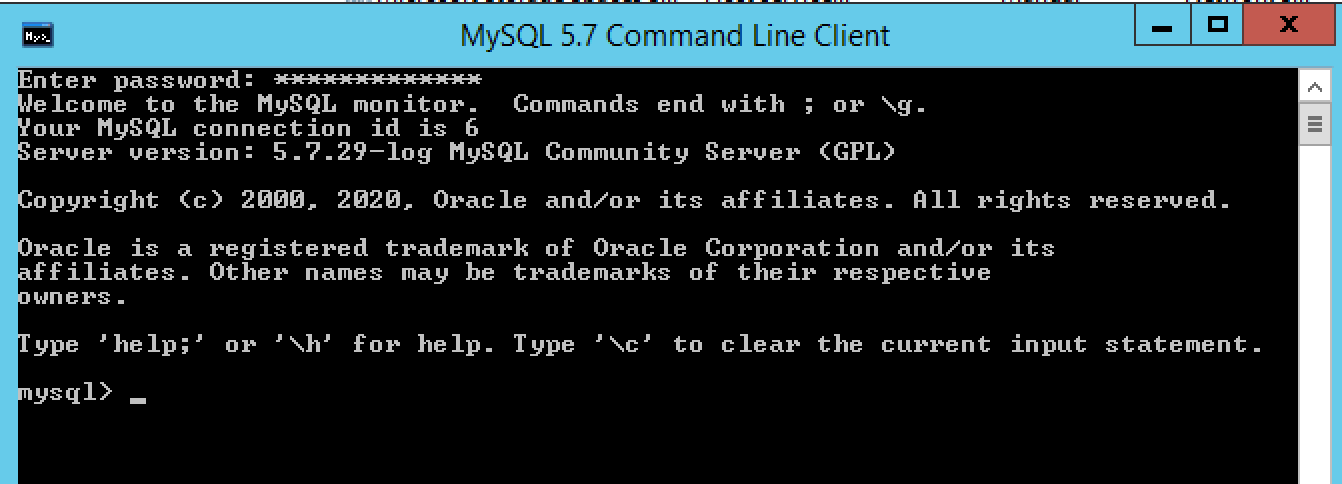
MySQL Client
Installing Nuance Speech Suite:
- Make sure you’re not installing the extended version. Once you do that run the installer.
- Select all components as this is a one box solution.
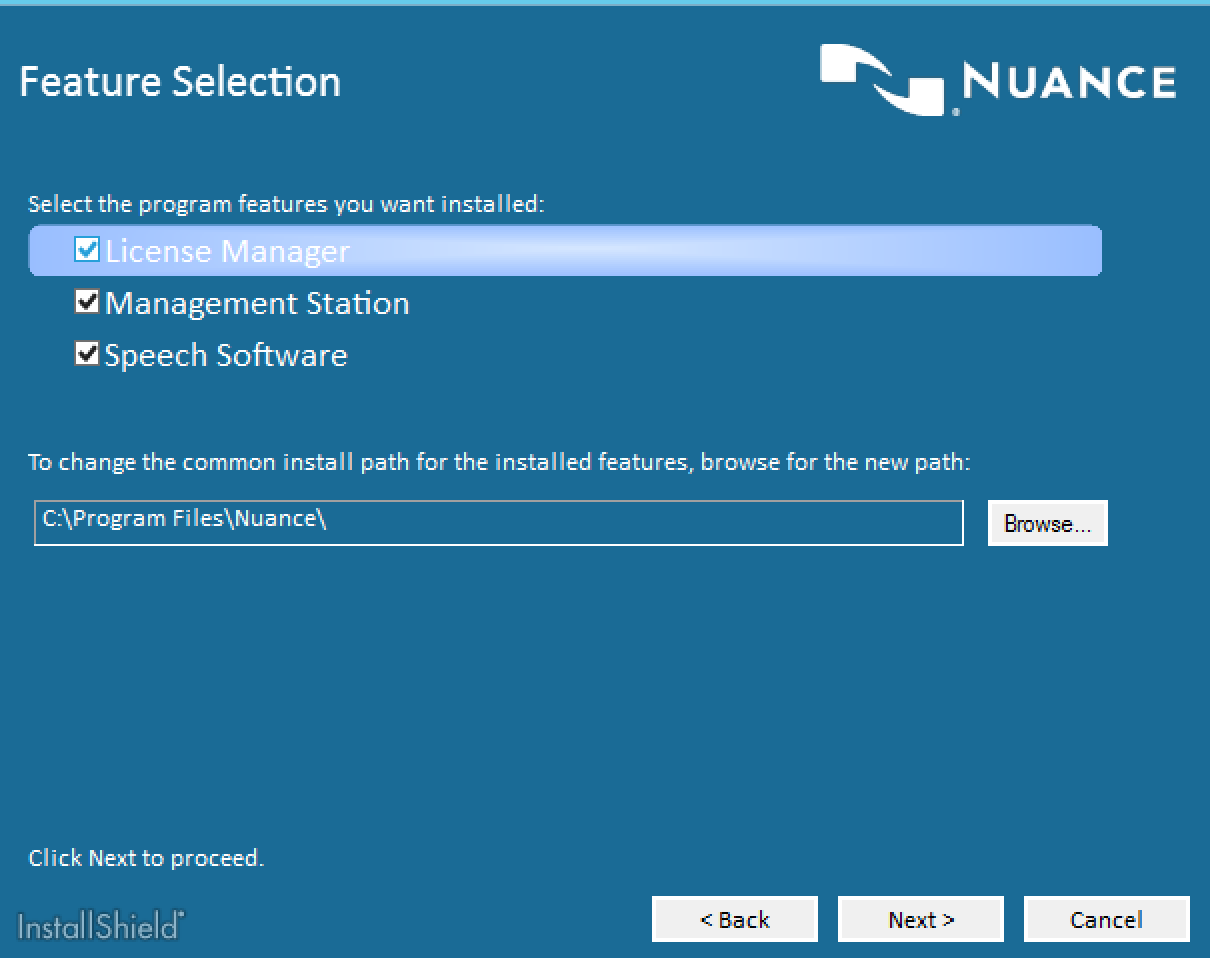
Nuance Speech Suite Features
3. Choose your license file.
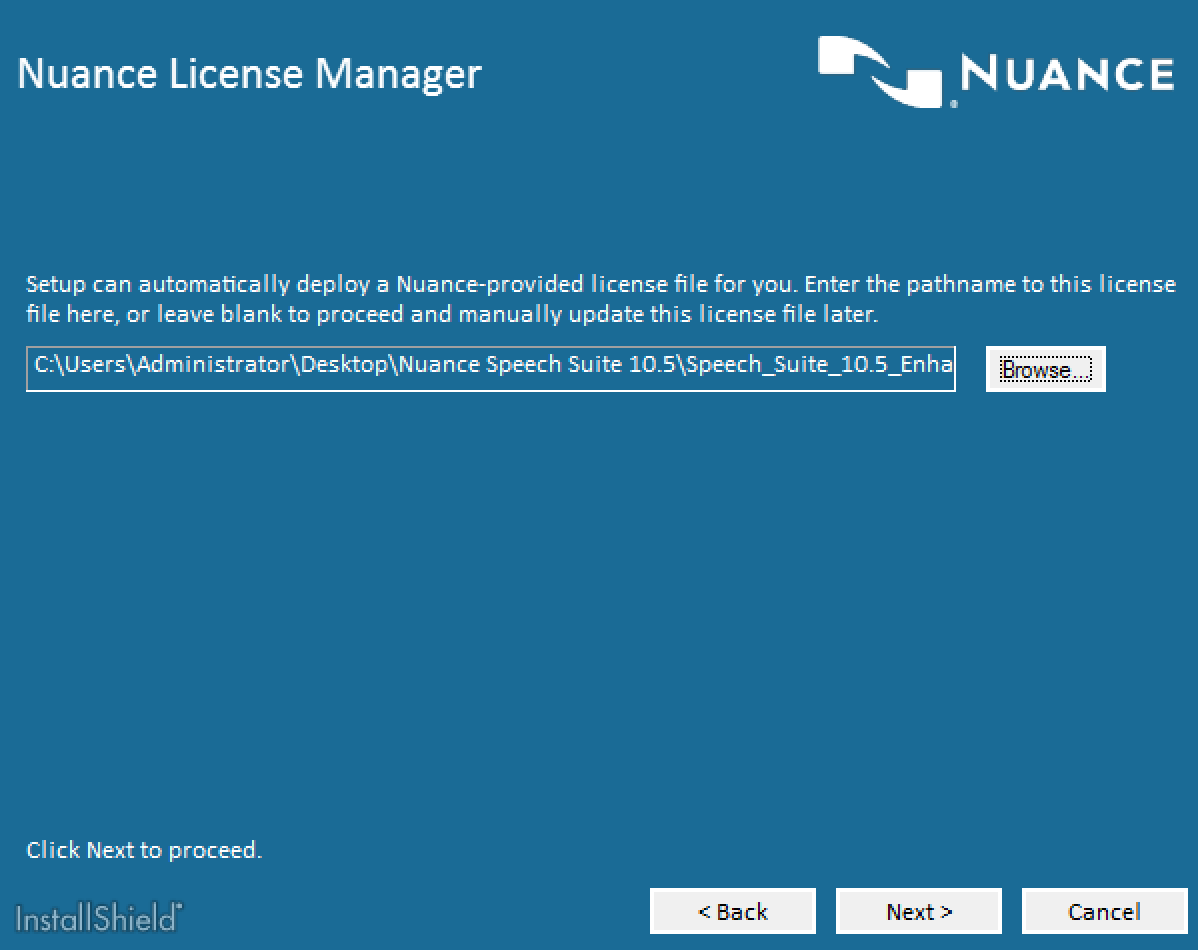
Nuance Speech Suite License Selection
4. Select your database type.
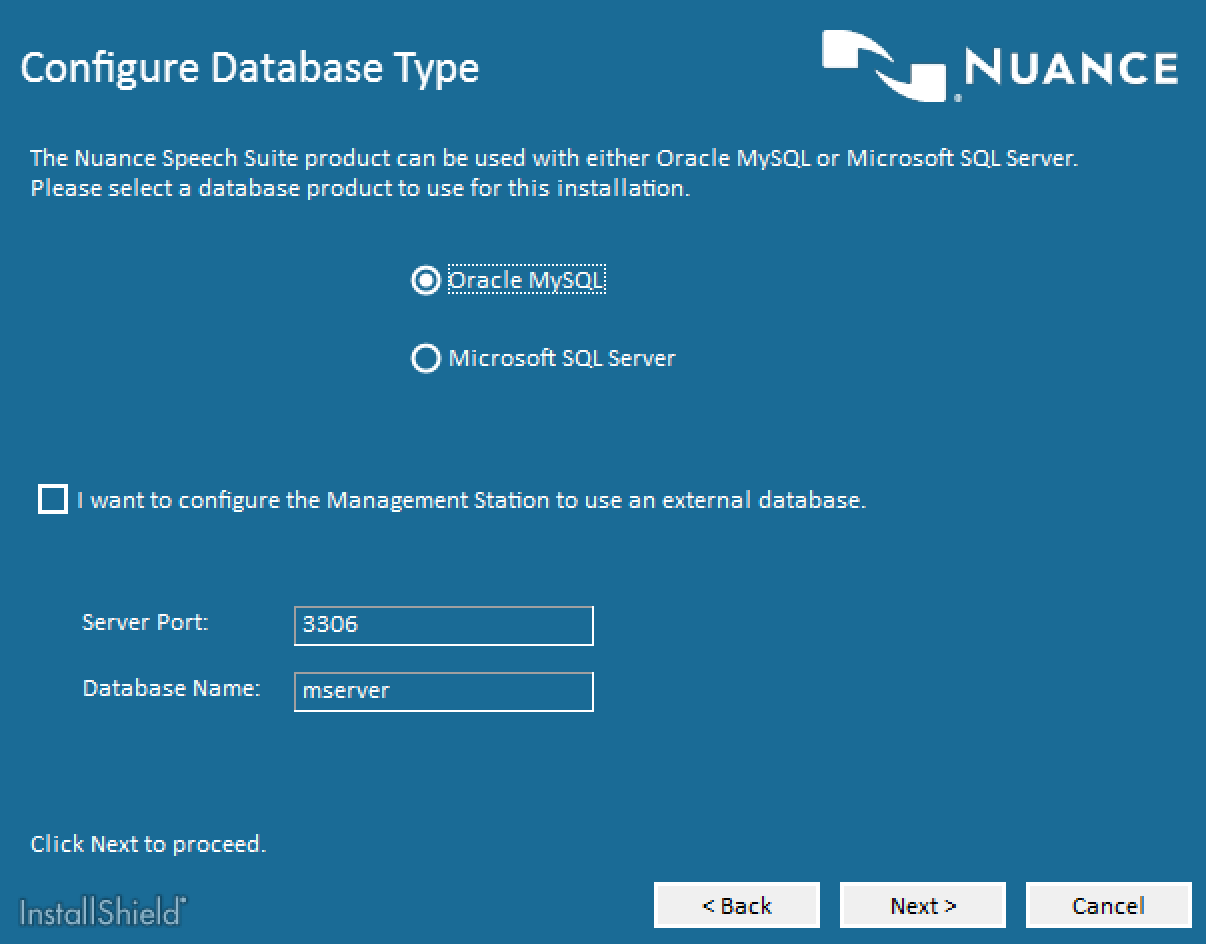
Nuance Speech Suite Database Selection
5. More than likely the installer will not find all your components automatically. So refer to your steps above to find the right path for each. Also enter your DB admin user and verify the installer can connect.
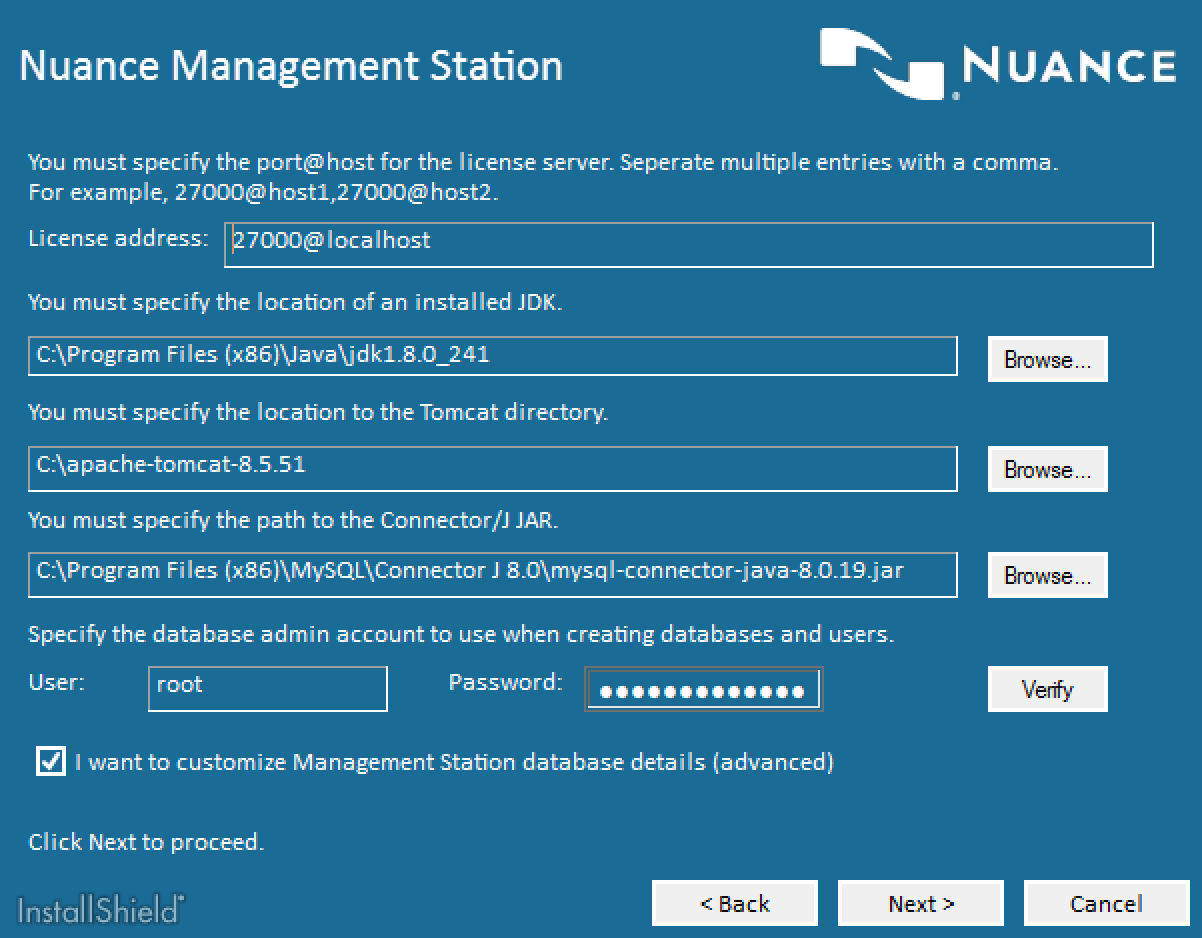
Nuance Speech Suite Component Configuration
6. If you didn’t choose to customize the database details, you do not see this screen. Here’s is where you can set specific DB users as well as set your audit DB. By entering an admin account earlier you’ve chosen to either accept the default username and password (ms/msp) or you’re choosing a specific user. I use nuance as my DB user to make it clear who is accessing these DBs.
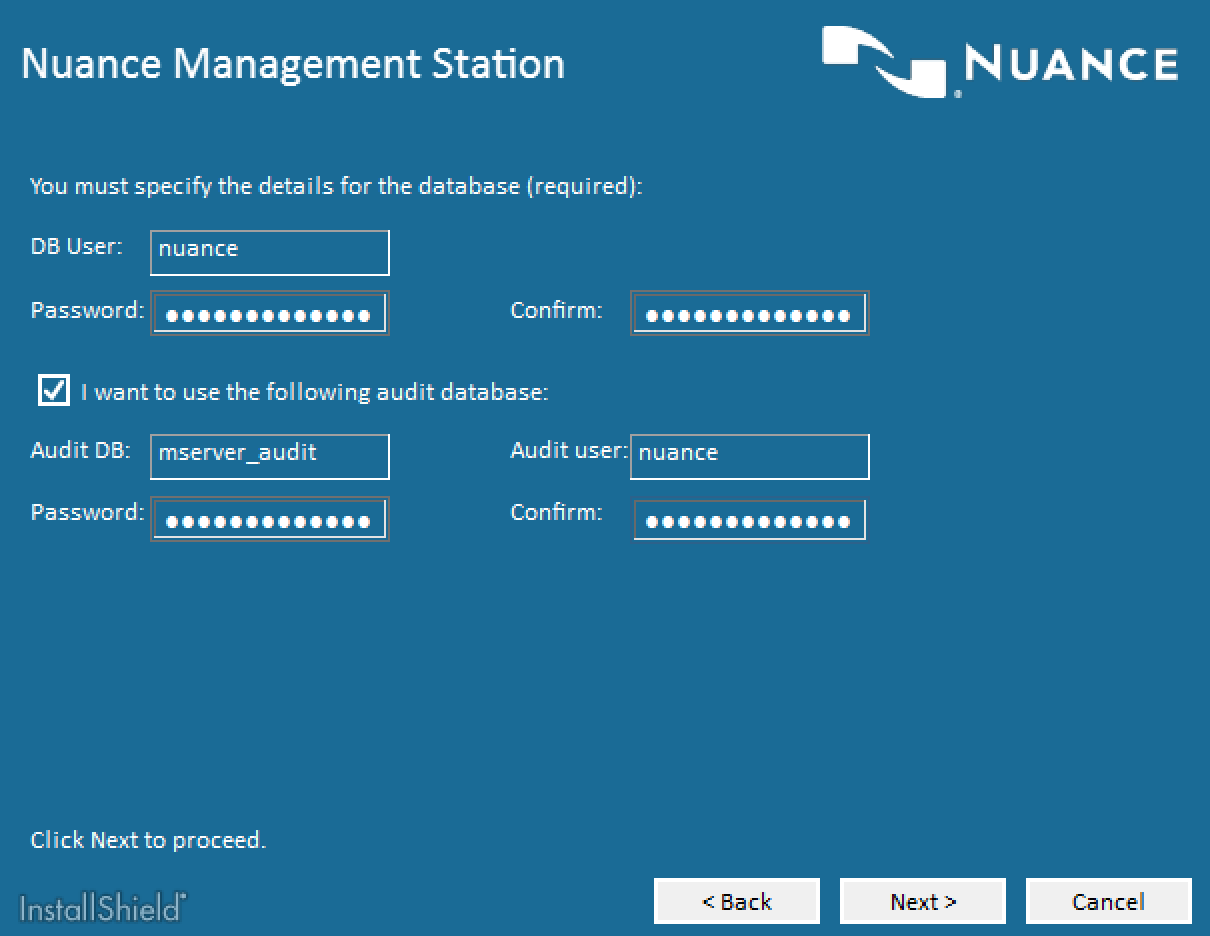
Nuance Speech Suite Database Configuration
7. If you have any languages or voices you want to install choose the root directory and the installer will automatically find them. Make sure you’ve extracted the zip files to the same root folder.
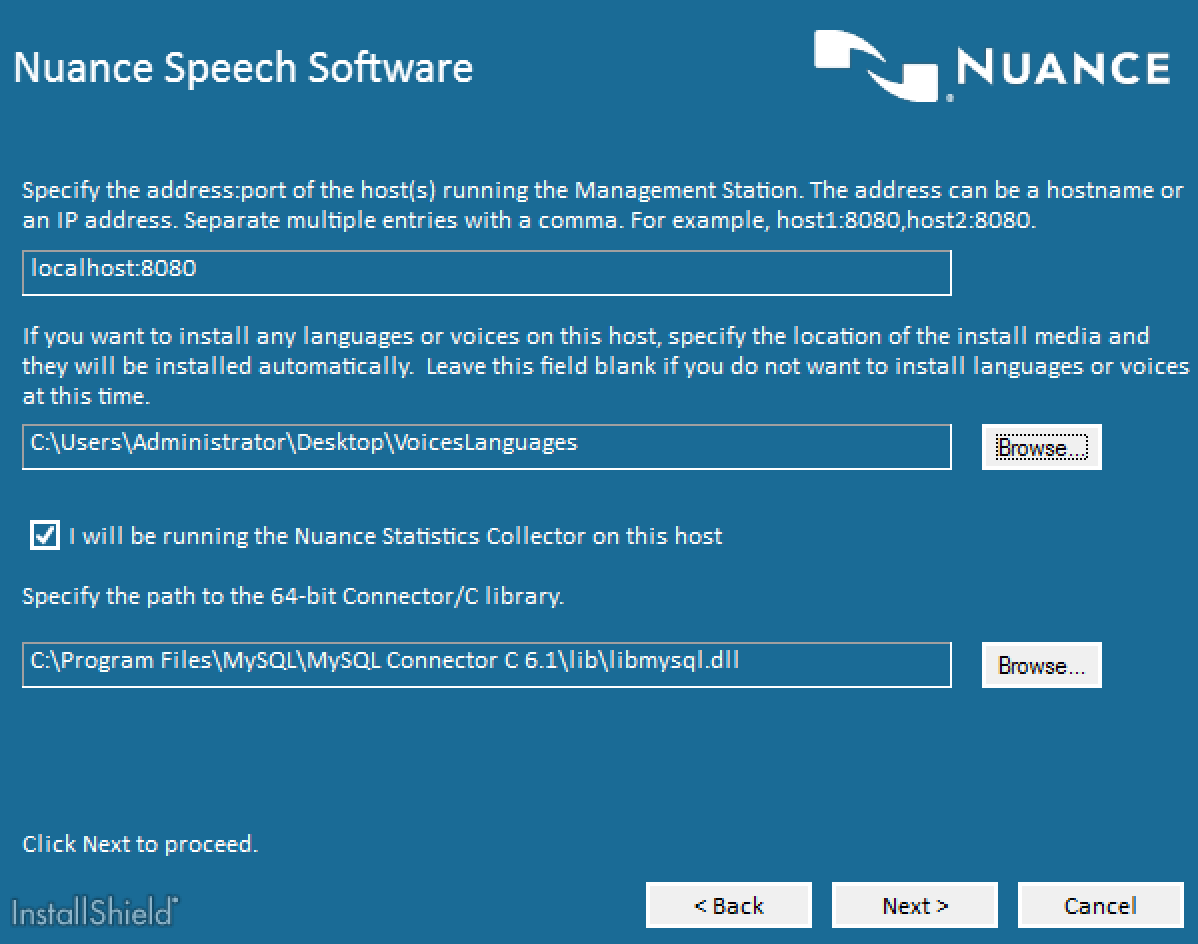
Nuance Speech Suite Final Configuration
8. From here it’s just waiting for the installer to run. You should see external install windows appears specially around the language and voices being installed.
Nuance Speech Suite Finished
9. Do a Windows restart.
Validate Installation of Nuance Speech Suite:
- Take a look at the install log (C:\Program Files (x86)\Nuance\Management Station\mstation\mserver\logs) and look for any ERRORs.
- Open the Windows services and ensure that the following servers are started:
-
- Nuance Management Station
- Nuance Management Station Data Collection
- Nuance Management Station Stats Analyzer
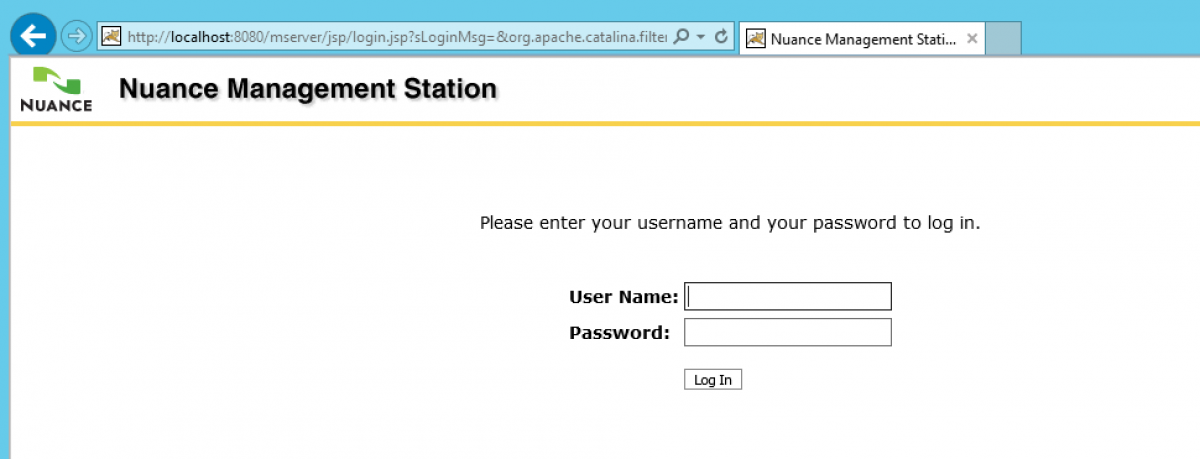
3. Go to http://localhost:8080/mserver use the default login of administrator/changeit

Nuance Speech Suite Login Screen
4. You’ll be prompted to change your password. Make sure you check out the password requirements as they are very specific. I also use my trusted old C1sc0C1sc0123! password which generally works everywhere.
There’s a lot more to go in getting this up and running, but this post is long enough. More to come.
~david
You must be logged in to post a comment.