
I’m getting more and more into serverless development. Trying to avoid handling any sort of hardware sounds like a dream come true. No more handling security patching, load balancing, etc. However, one of the biggest things I struggle with is how to do local development efficiently without having to deploy your code to the cloud every time? Google’s serverless offering, Firebase, released a very cool tool this year which allows you to emulate most their services locally. Here are some of my learnings so far. These should be specifically relevant if you’re doing any React development with Firebase.
Setting Up Your Local Development
Prerequisites:
- We won’t be using the node.js server, but use node to install components and to develop our React app.
- Firebase account.
- Firebase CLI a key way to do that is using the command
npm install -g firebase-cli - Optional but recommended create-react-app installed npm install -g create-react-app
- Optional Your favorite IDE. I’m a sucker for VS Code.
Project Setup
Setting up your project. From the Firebase console, Add project:
- Choose a name.
- Choose your Google Analytics setting, not relevant for this.
- Create project.
- Add an app to get started and choose Web.
- Choose a name, I generally use the same name as the project and set up Firebase Hosting.
- Click on Database and create a Cloud Firestore database. Choose to start in test mode. Choose your favorite/closest region.
Local Setup
- Create a folder where you’ll be doing your development, this will be your root folder. I give this folder a project relevant name.
- First make sure you login with the below command and use the Google account associated with the Firebase console above.
-
firebase login
-
- Initialize your project with the command below. Make sure to choose the following features and be sure to select the Firestone project we created earlier during the project setup. Choose all the other defaults presented and choose the following emulation settings.
-
firebase init
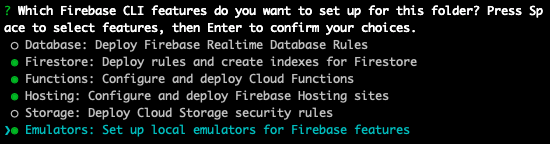
Choose your Firebase services you’ll be using.

Firebase cli emulator settings.
-
Of most importance here is that you take a look at your firebase.json file which has been generated by the initialization. It should look very much like this. Pay close attention to the emulators and hosting sections as these will play an important role later. One thing to watch out for at this point is to ensure the ports you’ve asked the emulator to use are actually open. On the next step we will be able to confirm if they are opened or not, but this is the file you use to change them if you get an error. Here’s what it should look like if you’re following along.
{
  "firestore": {
    "rules": "firestore.rules",
    "indexes": "firestore.indexes.json"
  },
  "functions": {
    "predeploy": [
      "npm --prefix \"$RESOURCE_DIR\" run lint"
    ]
  },
  "hosting": {
    "public": "public",
    "ignore": [
      "firebase.json",
      "**/.*",
      "**/node_modules/**"
    ],
    "rewrites": [
      {
        "source": "**",
        "destination": "/index.html"
      }
    ]
  },
  "emulators": {
    "functions": {
      "port": 5001
    },
    "firestore": {
      "port": 8080
    },
    "hosting": {
      "port": 5000
    },
    "ui": {
      "enabled": true
    }
  }
}
- Finally it’s time to take a look at what we have so far. We’re going to start the emulator and see what we get with the out of the box setup for a Firebase project. If you get any errors it’s more than likely that you have a port conflict. I have a port conflict and moved Function from 5001 to 5080. If you need to to the same go back to your firebase.json file and find a free port and try again.
-
firebase emulators:start
-
If everything worked you should see the following.
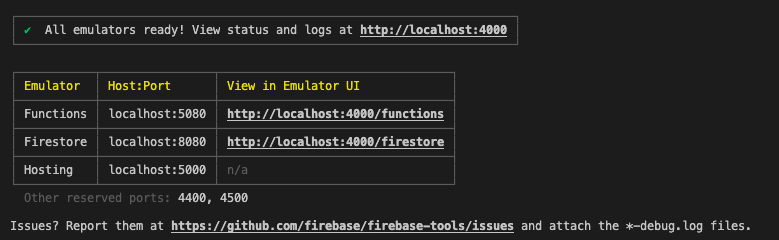
Firebase emulator running
At this point let’s stop for a second and break down what we have available to us. First, going to http://localhost:5000 will show you Firebase Hosting’s emulation. Next, going to http://localhost:4000 gives you a nice dashboard of all your emulated services and their status. As well as links to the relevant logs and details for those services. Finally, a log window with a very handy search feature to be able to do faster troubleshooting.
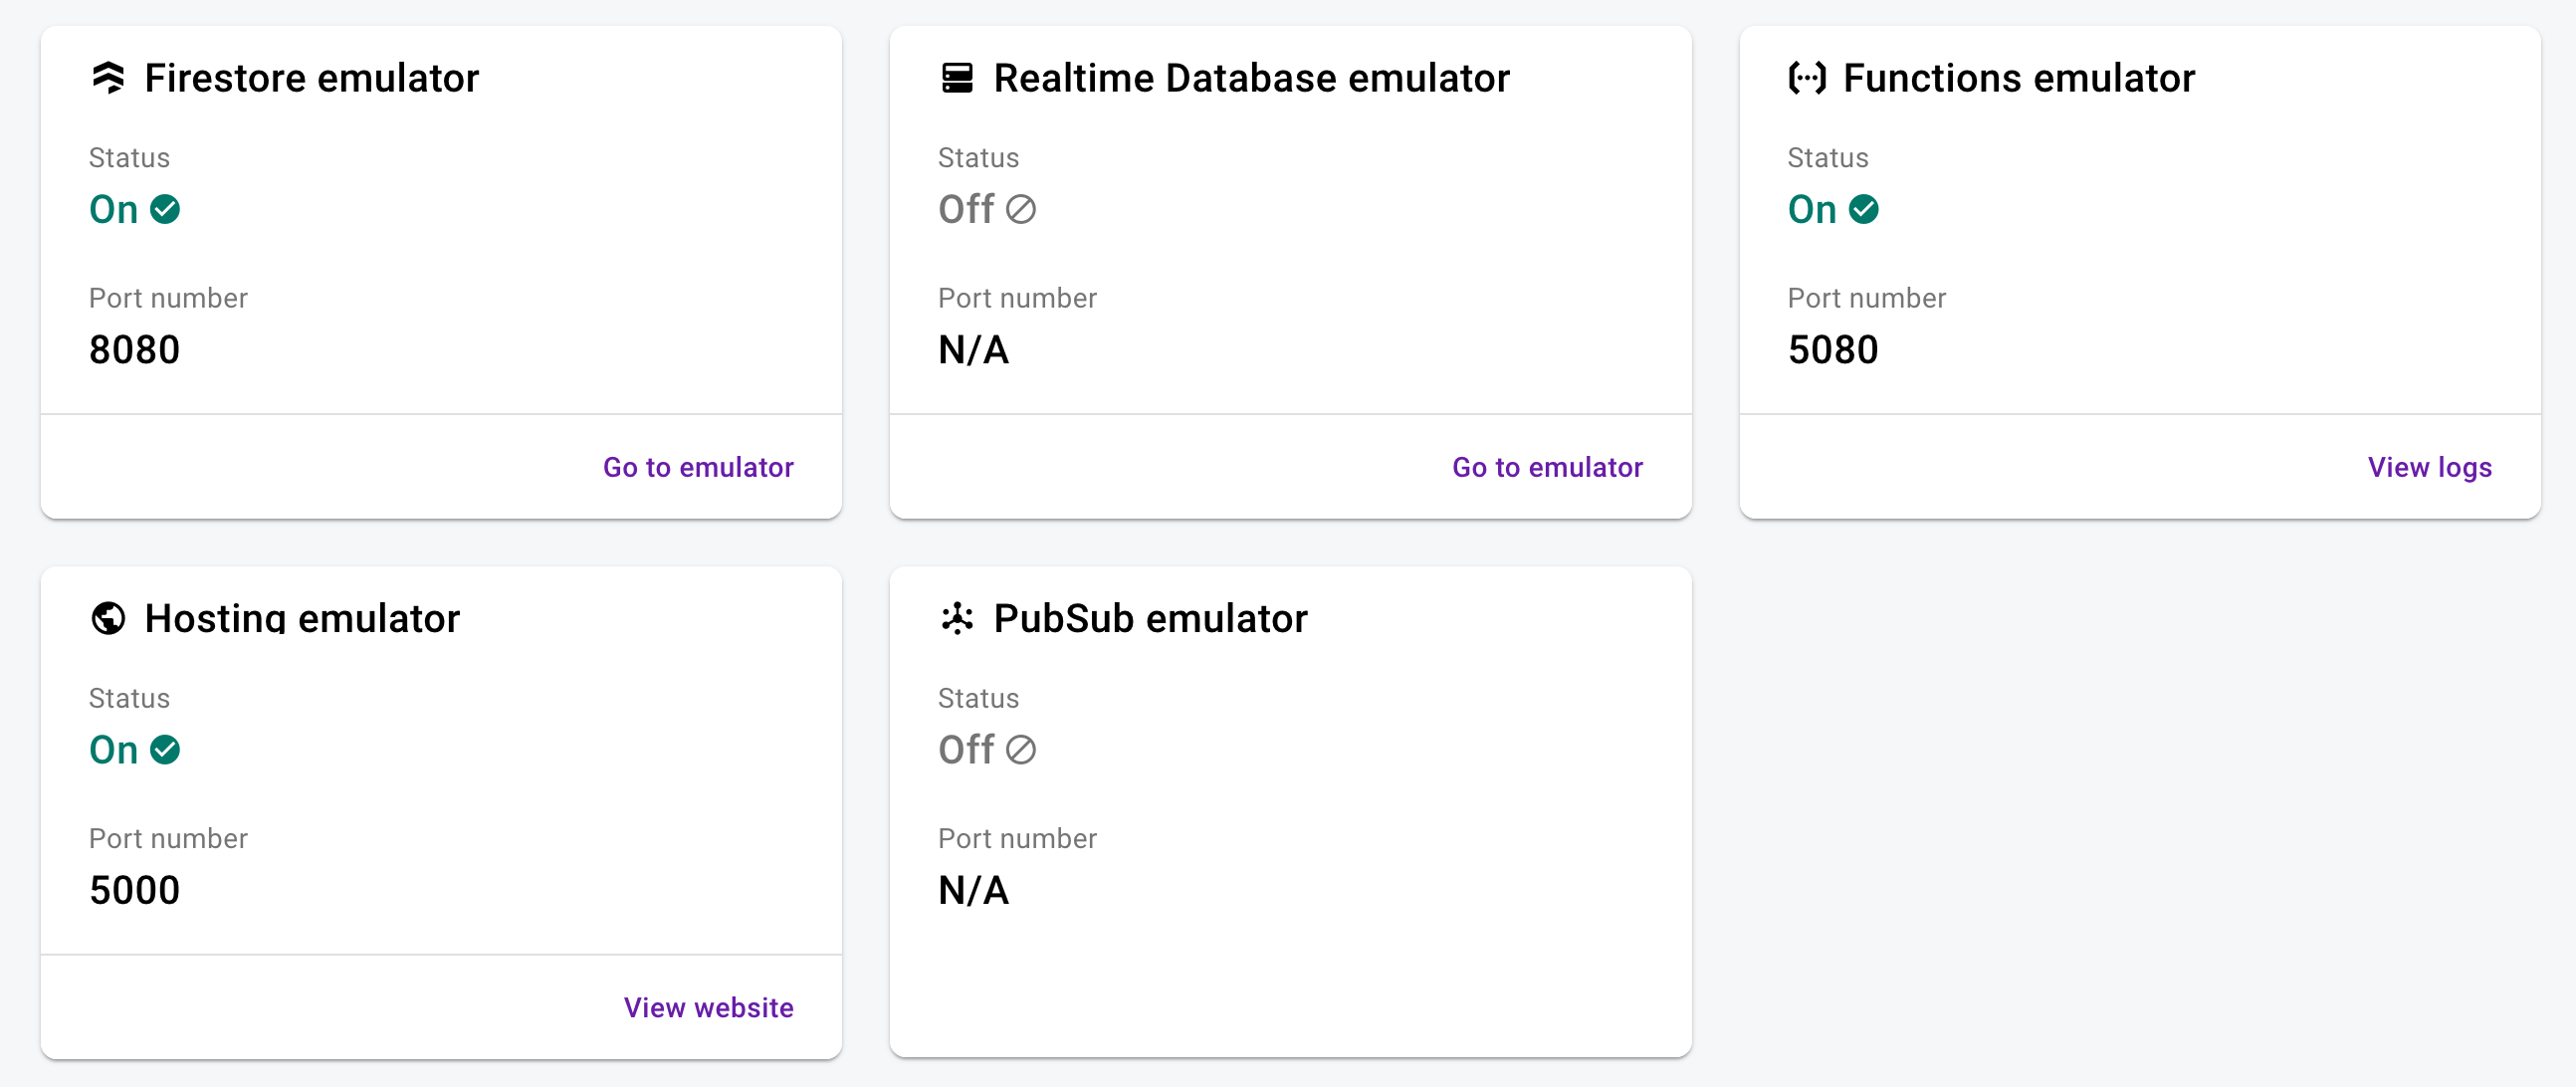
Firebase emulator UI
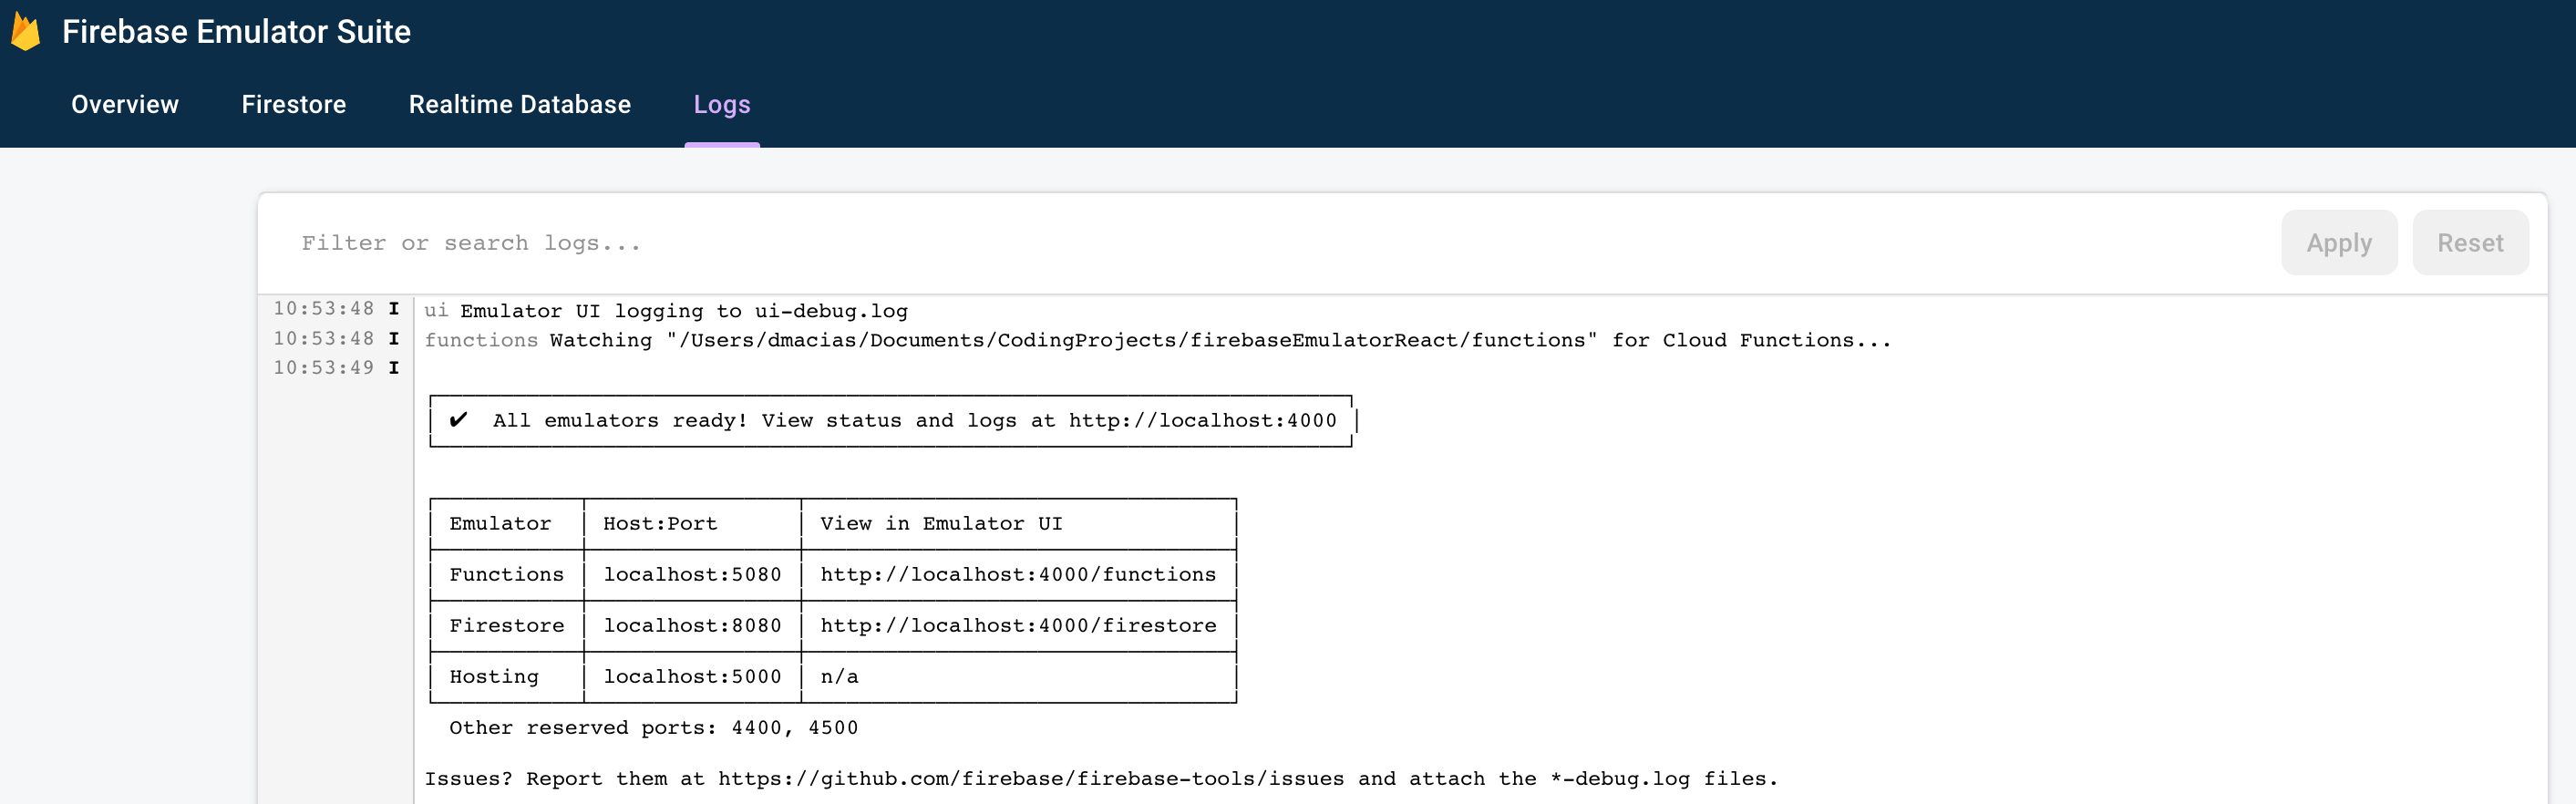
Firebase emulator log UI
If you’ve gotten this far you’ve setup a project through the Firebase console. You’ve setup your local dev environment. You’ve emulated Firebase for local test. Now we’re going to go through a very simple exercise where we’re going to use the most popular services for Firebase and show what you can and can’t emulate.
React Development Part 1
We are going to create a simple React application that allows a user to register, login, and then see the registration details they entered. This exercise will walks us through a few things:
- Hosting: For the React application
- Functions: API for registration and login
- Firestore: Database for user information
- Authentication: Firebase user management
First there are a few things we need to setup.
- In the Firebase console for your project select Authentication and “Setup sign-in method”. You’re going to want to setup Email/Password provider. This will allow users to use those details to authenticate.
- In your terminal go to the root of your project and create a new create-react-app (CRA) app. I like to use view as my root React folder, but you can choose whatever you want. You’ll want to end up with the following folder structure.
create-react-app view
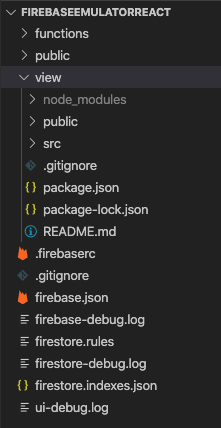
Default Firebase and CRA file structure
At this point you have a CRA app inside your Firebase, but when you go to your Hosting URL you are still going to see the default Firebase website.
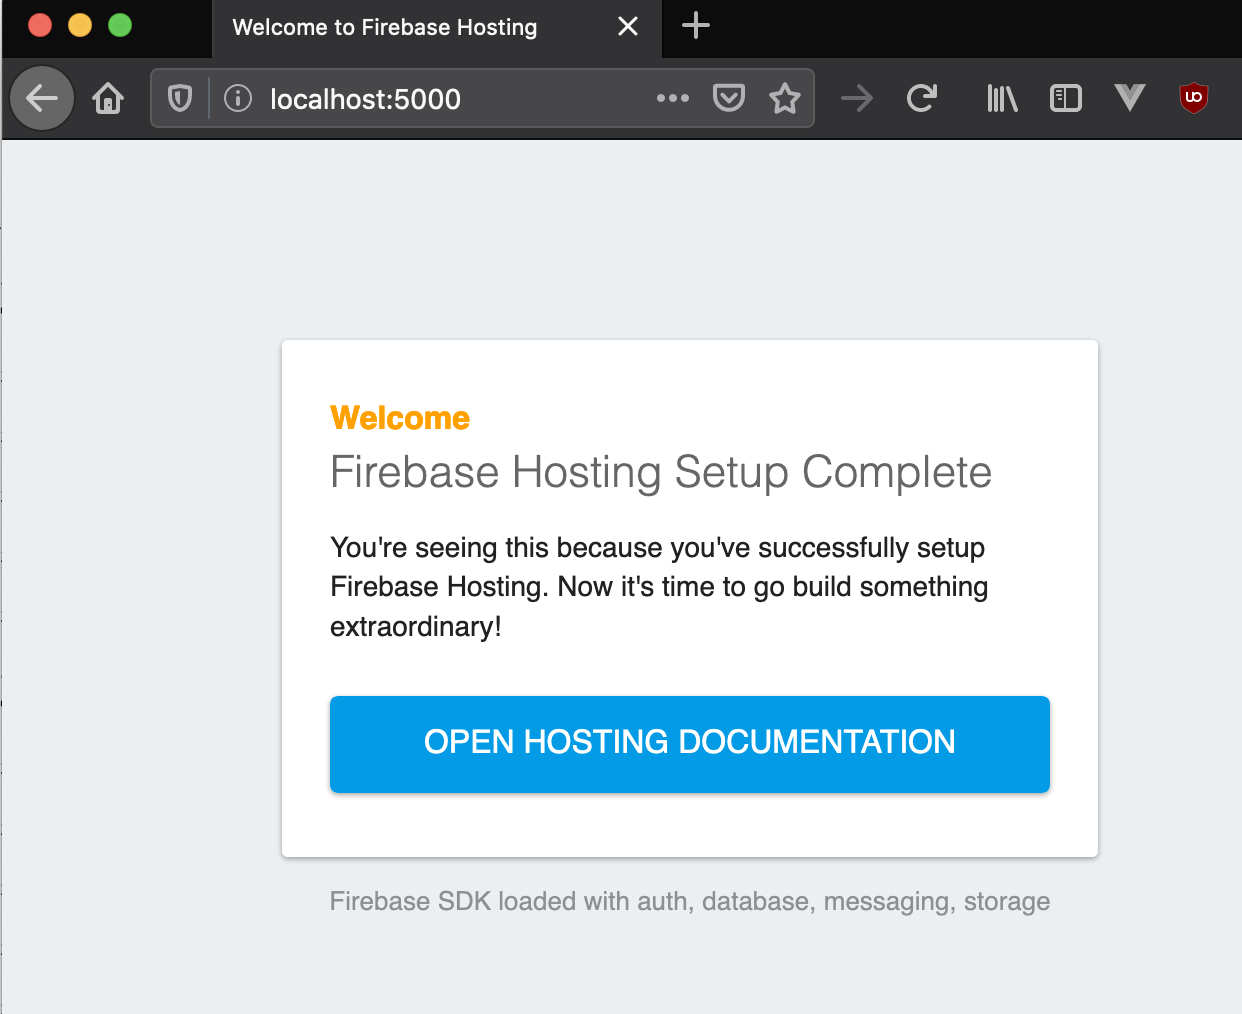
Firebase default Hosting webpage
Go back to your firebase.json and change your hosting path to view/build and then restart your Firebase emulator and you should now see your CRA app.
...
"hosting": {
"public": "view/build",
...
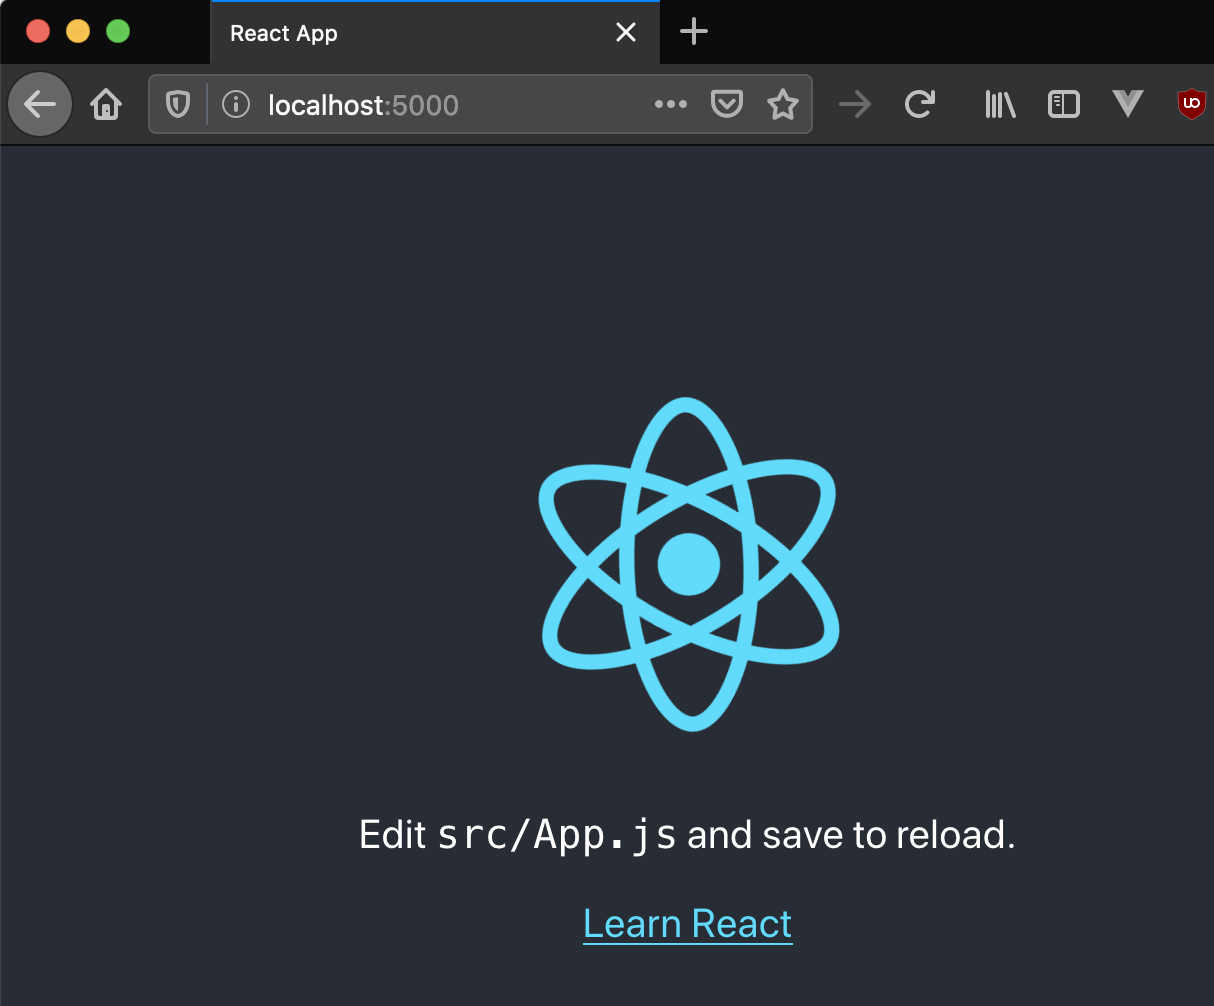
CRA default webpage
I will pick up the rest of the exercise on a follow up blog post as this is getting very lengthy.
~david
You must be logged in to post a comment.