Revisting Saving Host Names in Cisco AnyConnect Client

One of my most popular blog posts is this where I talk about how to set your AnyConnect VPN client to remember the addresses of the various VPN URLs you use. I figured I would be good to revisit it since it’s been 5 years since I last talked about it to ensure things still worked the same way as they did back in 2014.

First, everything still works the same way on Windows 10. You go to C:\ProgramData\Cisco\Cisco AnyConnect Secure Mobility Client\Profile create a new xml file. I call mine Profile.xml and use the following format:

<?xml version=”1.0″ encoding=”UTF-8″?>
<AnyConnectProfile xmlns=”http://schemas.xmlsoap.org/encoding/” xmlns:xsi=”http://www.w3.org/2001/XMLSchema-instance” xsi:schemaLocation=”http://schemas.xmlsoap.org/encoding/ AnyConnectProfile.xsd”>
<ServerList>
<HostEntry>
<HostName>dcloud-rtp-anyconnect.cisco.com</HostName>
<HostAddress>dcloud-rtp-anyconnect.cisco.com</HostAddress>
</HostEntry>
<HostEntry>
<HostName>2dcloud-rtp-anyconnect.cisco.com</HostName>
<HostAddress>dcloud-rtp-anyconnect.cisco.com</HostAddress>
</HostEntry>
<HostEntry>
<HostName>3dcloud-rtp-anyconnect.cisco.com</HostName>
<HostAddress>dcloud-rtp-anyconnect.cisco.com</HostAddress>
</HostEntry>
</ServerList>
</AnyConnectProfile>
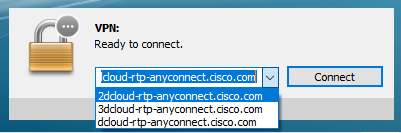
Save it and restart your client and it will look like this:
VPN Client With Multiple URLs Saved
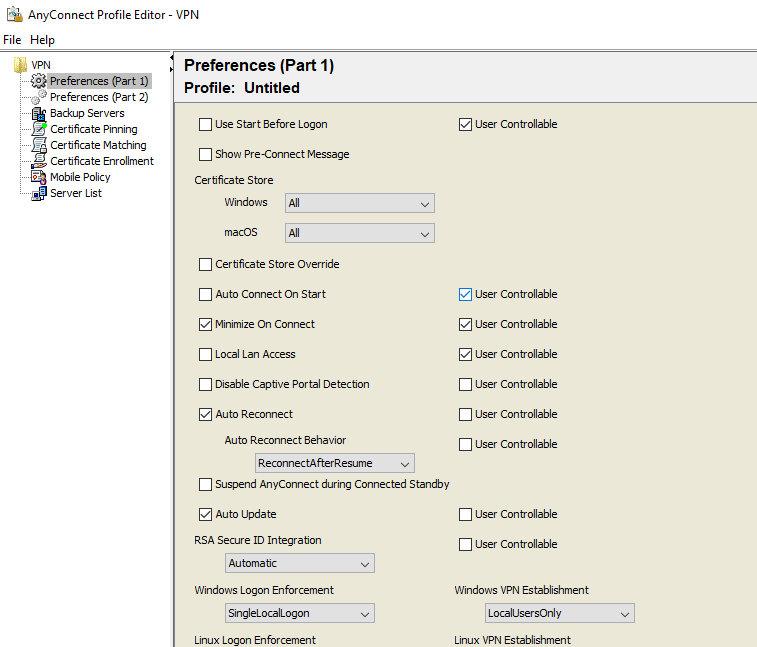
There is another method I’ve found and this involves some additional software. First, from software.cisco.com you have to install the Profile Editor (Windows), you only need to enable the Cisco AnyConnect Profile Editor. Once installed run the program.
Screen Shot 2020-01-14 at 9.38.43 AM
Go to Server List > Add:
Screen Shot 2020-01-14 at 9.44.24 AM
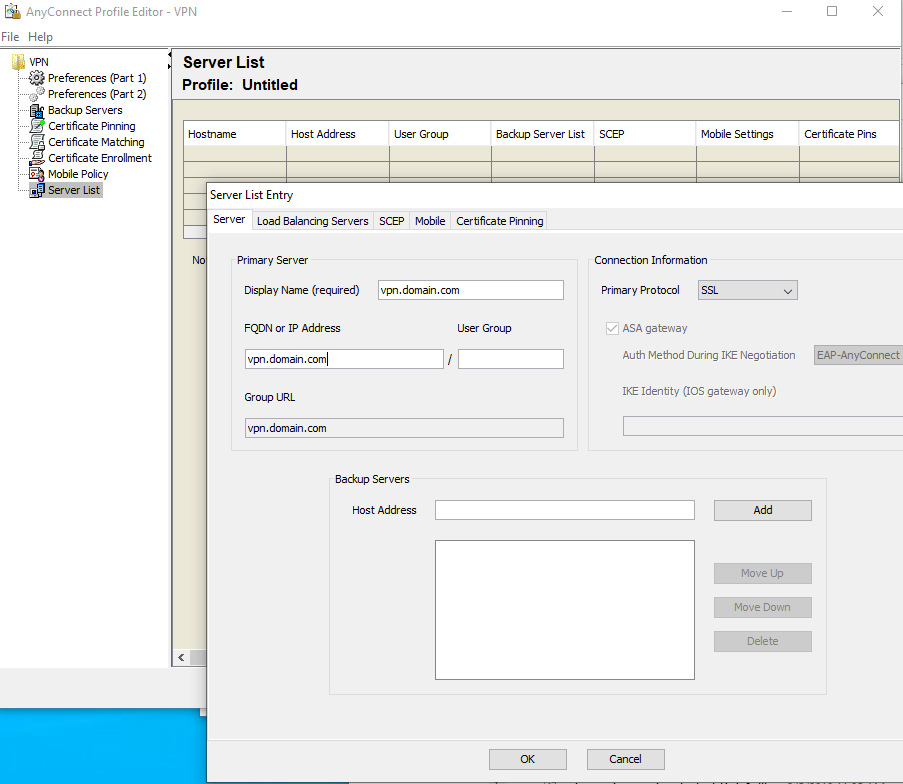
Go to File > Save As and save the XML file to same location C:\ProgramData\Cisco\Cisco AnyConnect Secure Mobility Client\Profile, restart the client and you should be all set.
~david

Add Connection Profiles to Cisco AnyConnect Secure Mobility Client

I enjoy the new VPN client, it’s small and fast, however I hated that you can’t save profiles in the drop down list like you could in the traditional VPN client.

VPNNoProfile

This has been bothering for a long time and kept finding conflicting information on if this was possible or not. Finally got it to work.

VPNProfiles

This is for version 3.1x and Windows 7 let me know if this works for your version and OS.

  • Create a preferences.xml file in C:\ProgramData\Cisco\Cisco AnyConnect Secure Mobility Client\Profile\
  • Use this format

<?xml version="1.0" encoding="UTF-8"?>

<AnyConnectProfile xmlns="http://schemas.xmlsoap.org/encoding/">
<ServerList>
     <HostEntry>
          <User>dclouduser</User>
          <SecondUser></SecondUser>
          <ClientCertificateThumbprint></ClientCertificateThumbprint>
          <ServerCertificateThumbprint></ServerCertificateThumbprint>
          <HostName>dCloud</HostName>
          <HostAddress>dcloud-rtp-anyconnect.cisco.com</HostAddress>
          <Domain></Domain>
          <Group>ssl_url</Group>
          <ProxyHost></ProxyHost>
          <ProxyPort></ProxyPort>
          <SDITokenType>none</SDITokenType>
          <ControllablePreferences>
          <LocalLanAccess>true</LocalLanAccess></ControllablePreferences>
     </HostEntry>

     <HostEntry>
          <User>dmacias</User>
          <SecondUser></SecondUser>
          <ClientCertificateThumbprint></ClientCertificateThumbprint>
          <ServerCertificateThumbprint></ServerCertificateThumbprint>
          <HostName>Speech-Soft</HostName>
          <HostAddress>vpn.dmacias.com</HostAddress>
          <Domain></Domain>
          <Group>ssl_url</Group>
          <ProxyHost></ProxyHost>
          <ProxyPort></ProxyPort>
          <SDITokenType>none</SDITokenType>
          <ControllablePreferences>
          <LocalLanAccess>true</LocalLanAccess></ControllablePreferences>
     </HostEntry>
</ServerList>

</AnyConnectProfile>

  • Save the file.
  • Restart the connectivity client.
  • Enjoy

~david

EDIT 01/18/2017: This also works with Cisco AnyConnect 4.x!